 |
THE CONSTRUCTION
of the
FRONT DOOR
|
I've spent many hours studying roots and vines. After the Loma Prieta quake of 89 there were big cracks where you could walk in under the Redwoods and look up at the roots in their natural state from underground. Many people only admire the beauty of the part of the tree that is above the plane of the soil. The hidden half of the tree has a beauty of it's own.
I take particular pleasure where tree roots encounter man made objects. This usually involves historic sites. Native structures wrapped in roots in Belize, Mexico, Peru, Hawaii and Bolivia have inspired my work. As a kid I marveled at old gold mining and logging equipment and structures I saw in the woods of Northern California and Washington, wrapped in tree roots. I looked at objects around me... and wondered what would happen if we all left... and the plants took back their land....
My medium of choice is the computer. Yeah, I've hand sculpted in wood, stone, clay, and metal first... and that's a part of all this... but with the computer, I can do things that would be impossible by hand. Like make two freeform curving shapes that perfectly nest into one another. There are two reasons to use CAD CAM. The second is that it allows you to create shapes that couldn't be done, any other way.
Scroll down and keep scrolling... Take your time. Let 'er load.
|
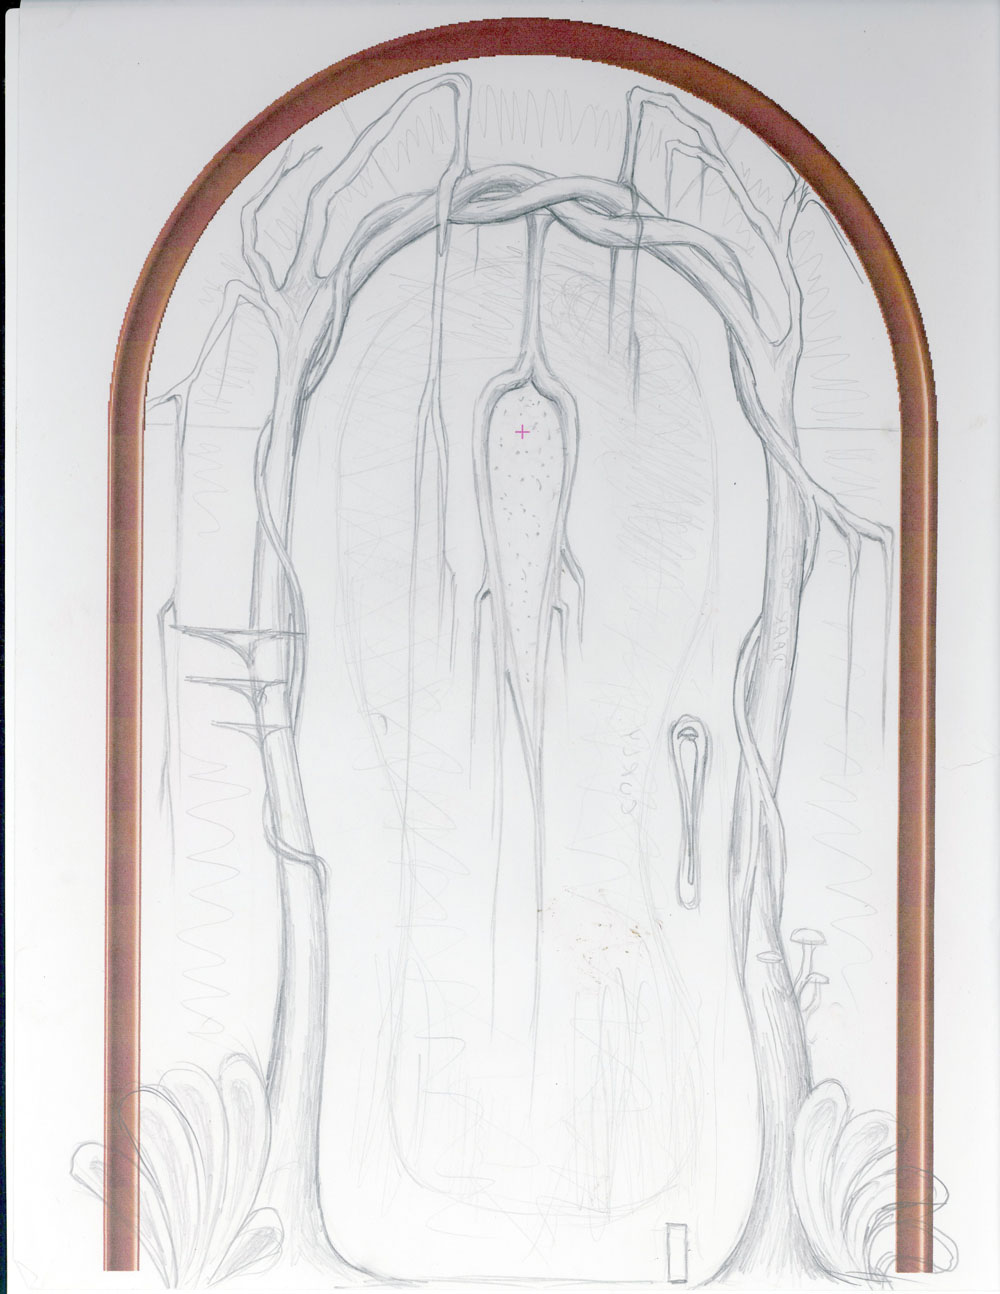
The final sketch of the front door
At least 20 other sketches got tossed in favor of this one.
|
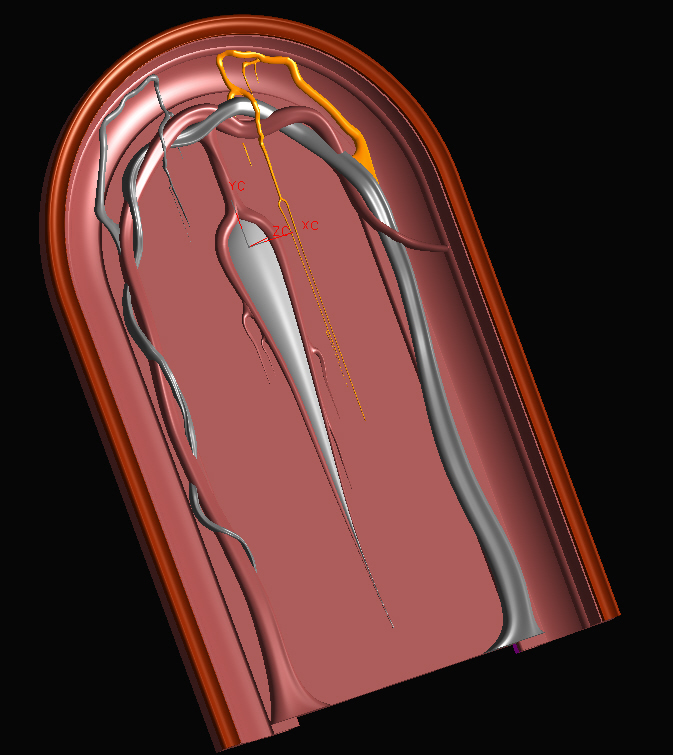
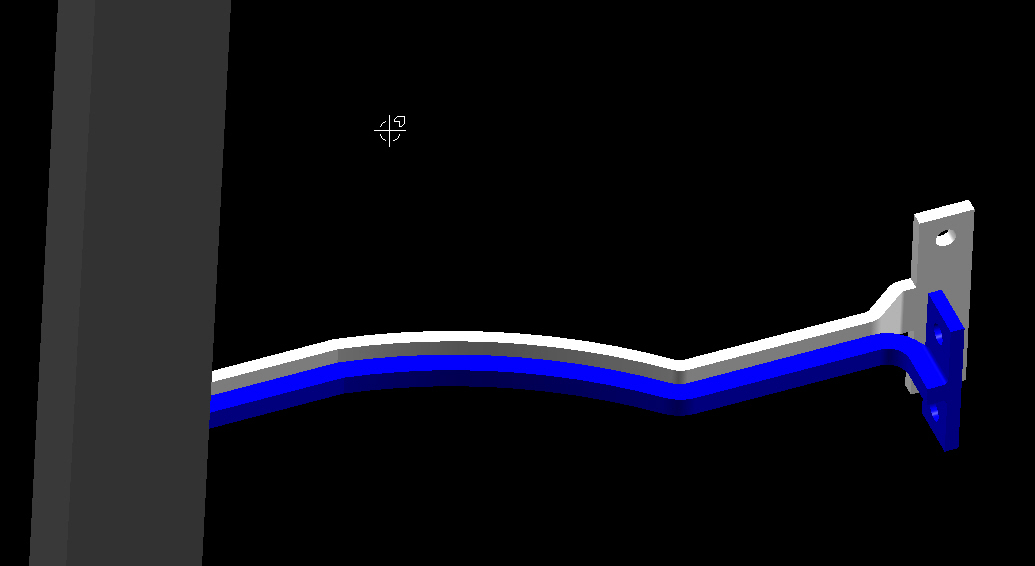
Next I built a Unigraphics CAD model based upon the drawing.
|
|
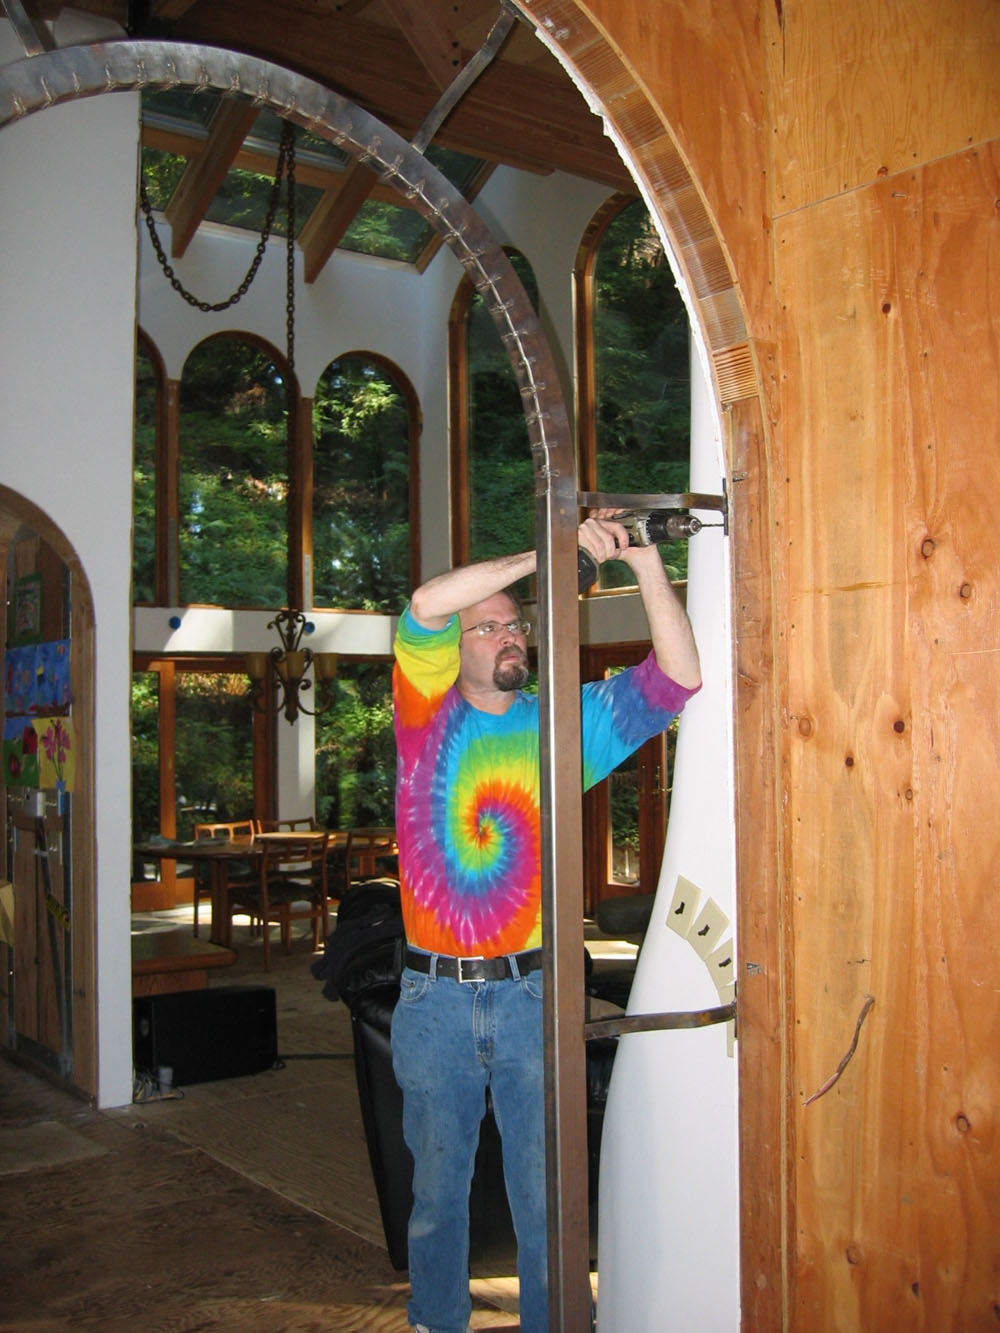
I added this image here so it's easier to compare the reality with the CAD.
|
Fun with Unigraphics kids.
|
Computer Aided Machining Programs are then generated from the CAD model
|
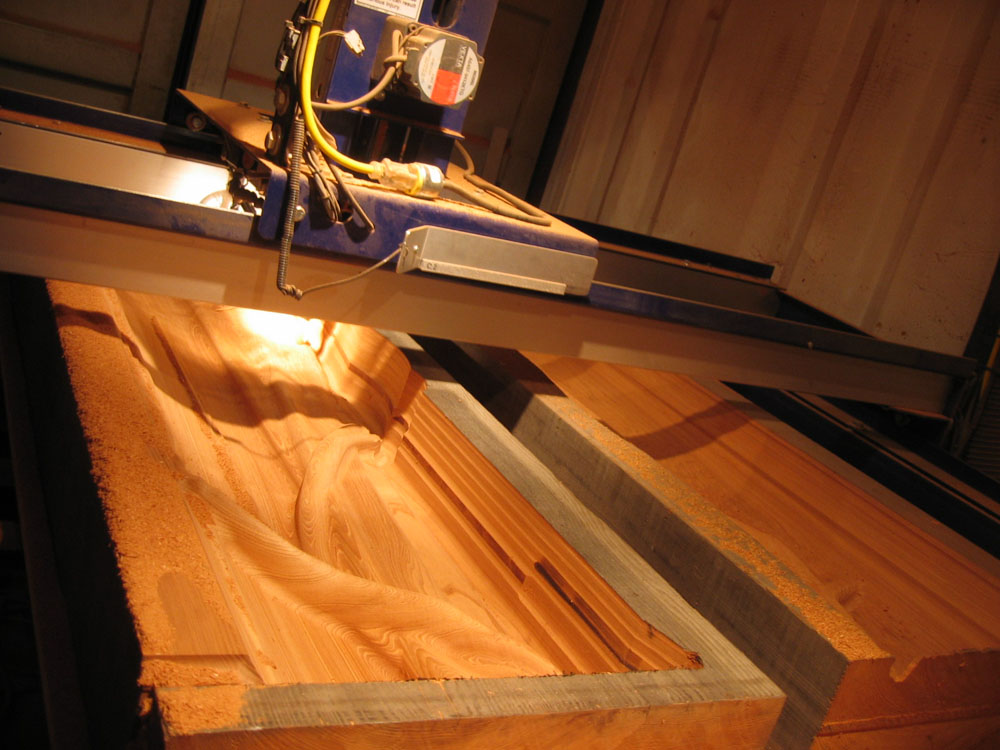
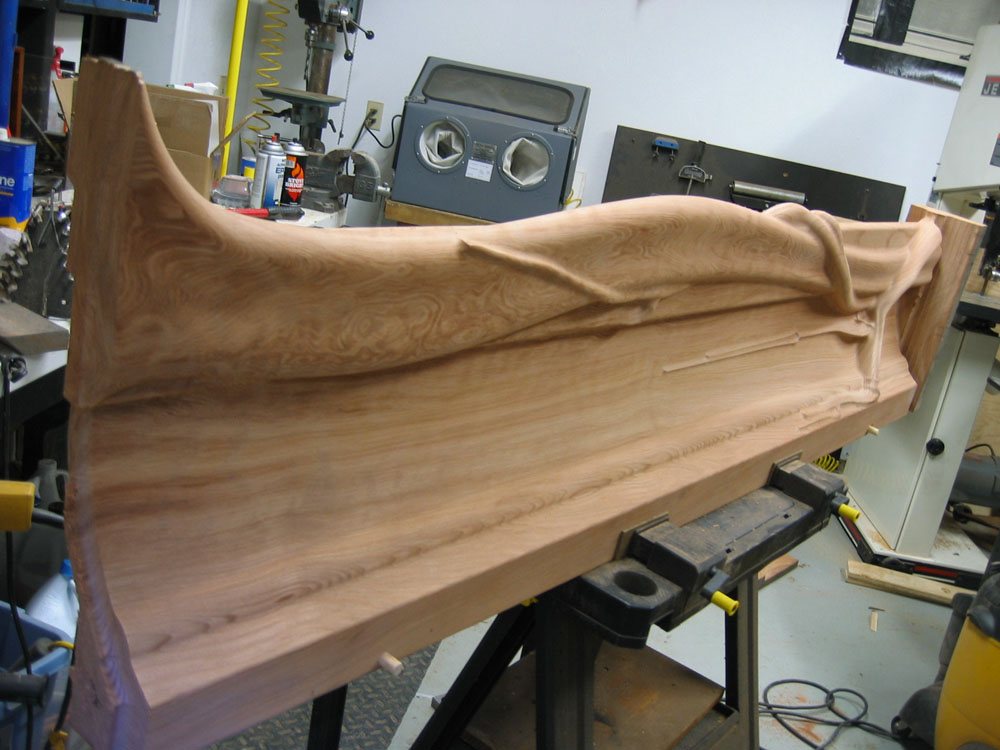
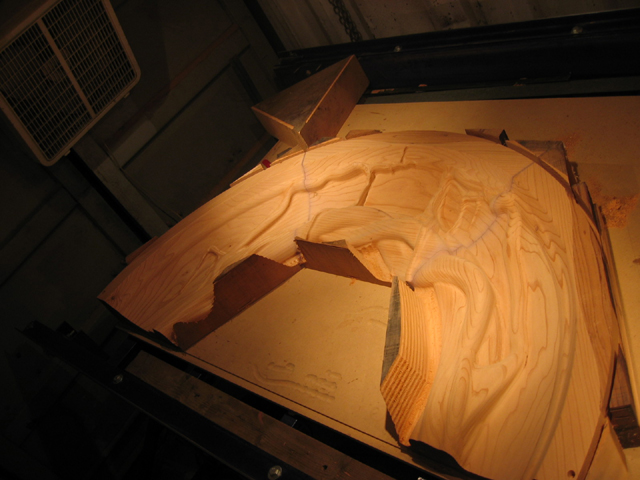
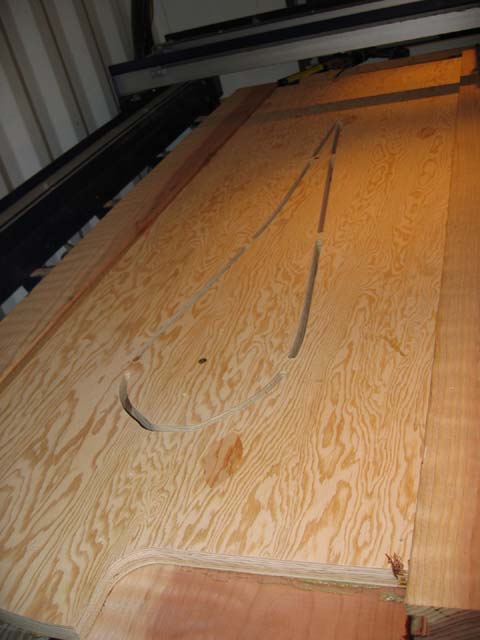
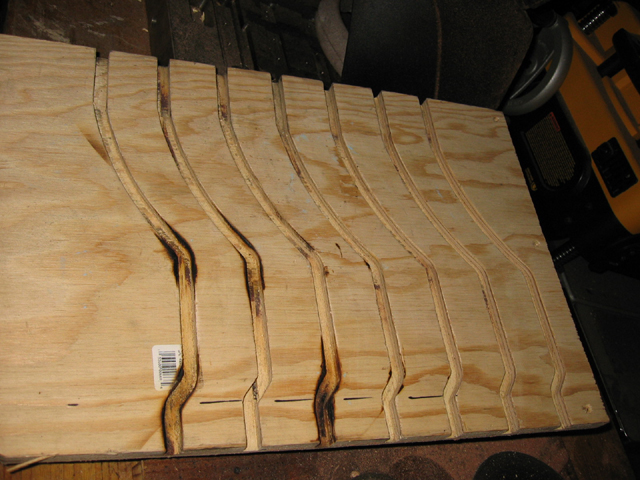
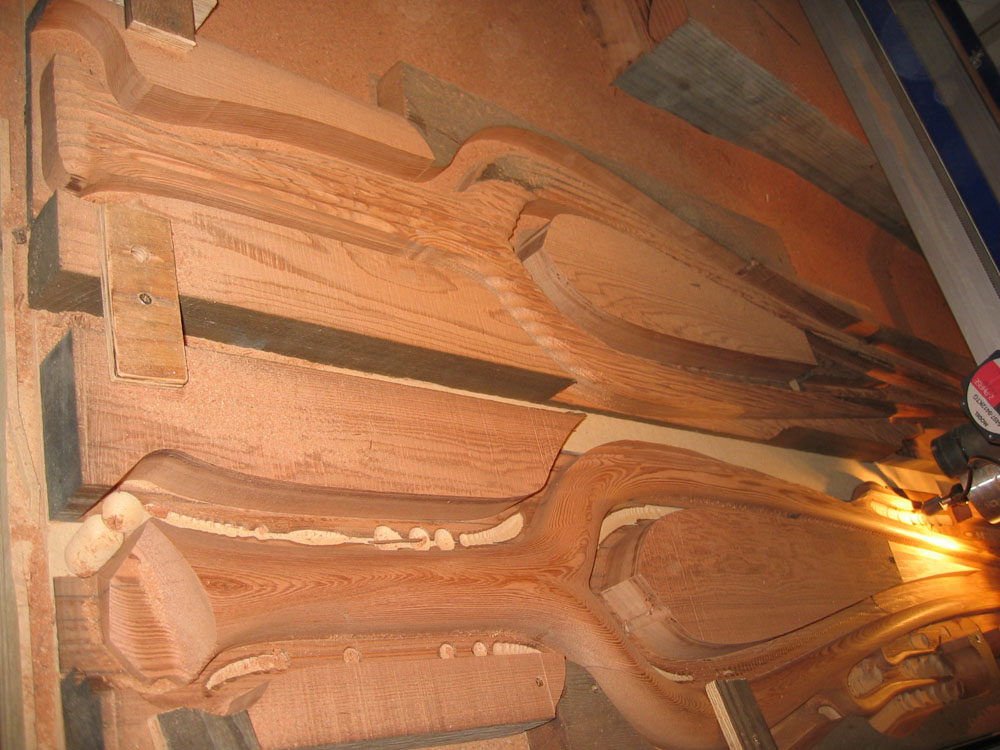
And then machined into real wood using my ShopBot CNC router. The Door Jambs.
The piece of wood is then flipped over and machined from the other side, yeilding an almost finished piece. Locating pins in the table ensure perfect alignment when they are flipped. Door jambs are usually straight lines.... Here is where the "You can't do this without CAD CAM" part comes in. Note that there are roots that traverse from the outside to the inside.
|
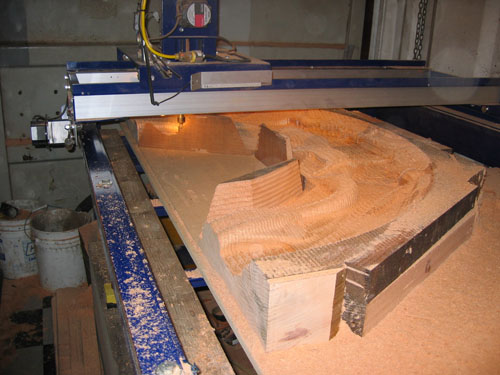
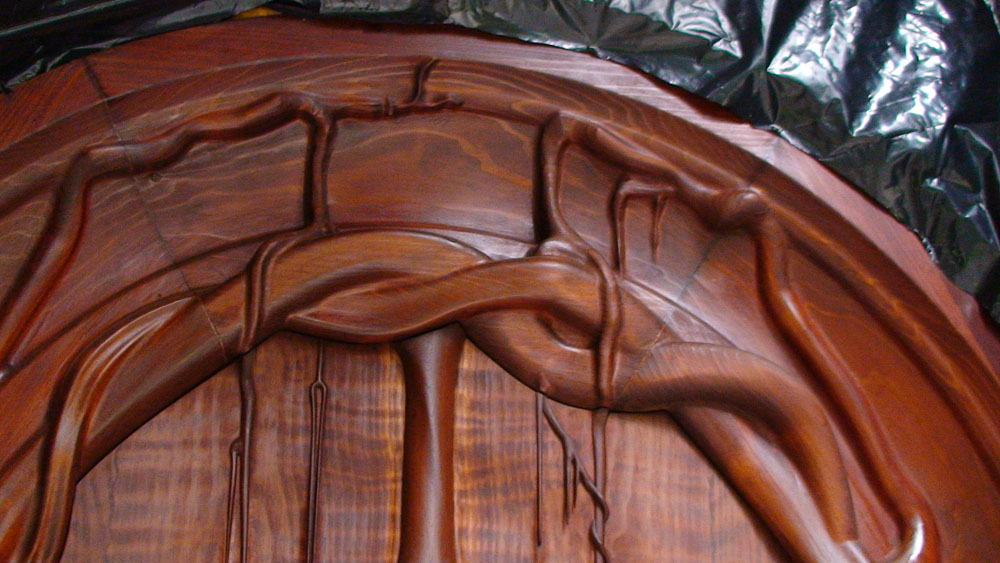
The Arch The arch segments are biscuited together with pennies. Regular biscuits didn't fit on the curves. Pennies make great micro biscuits.
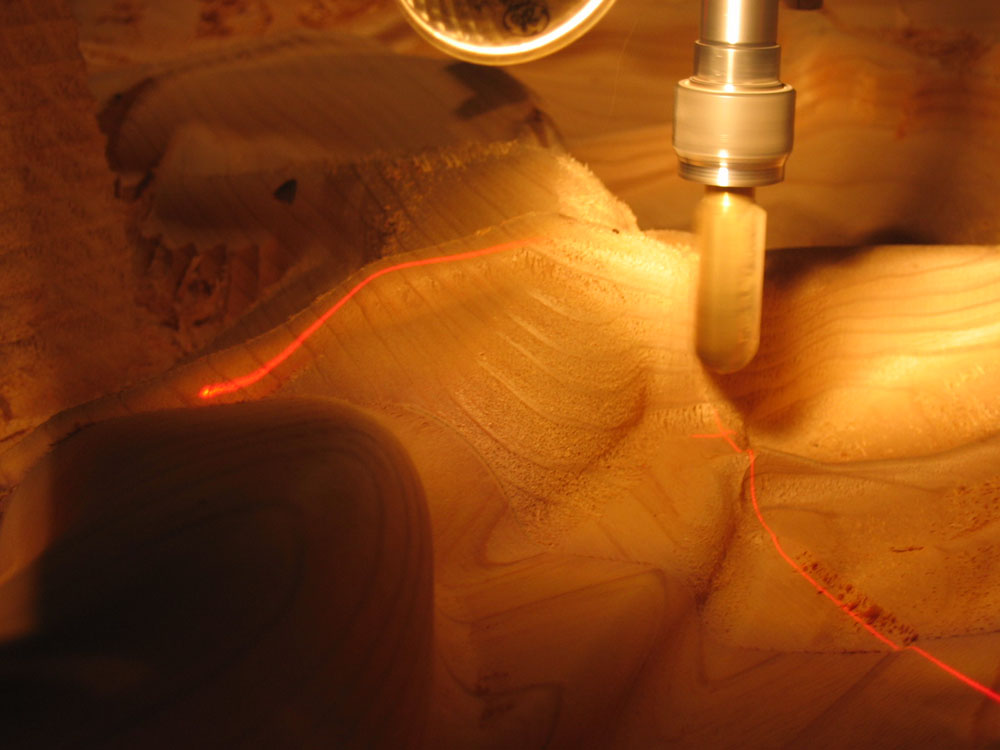
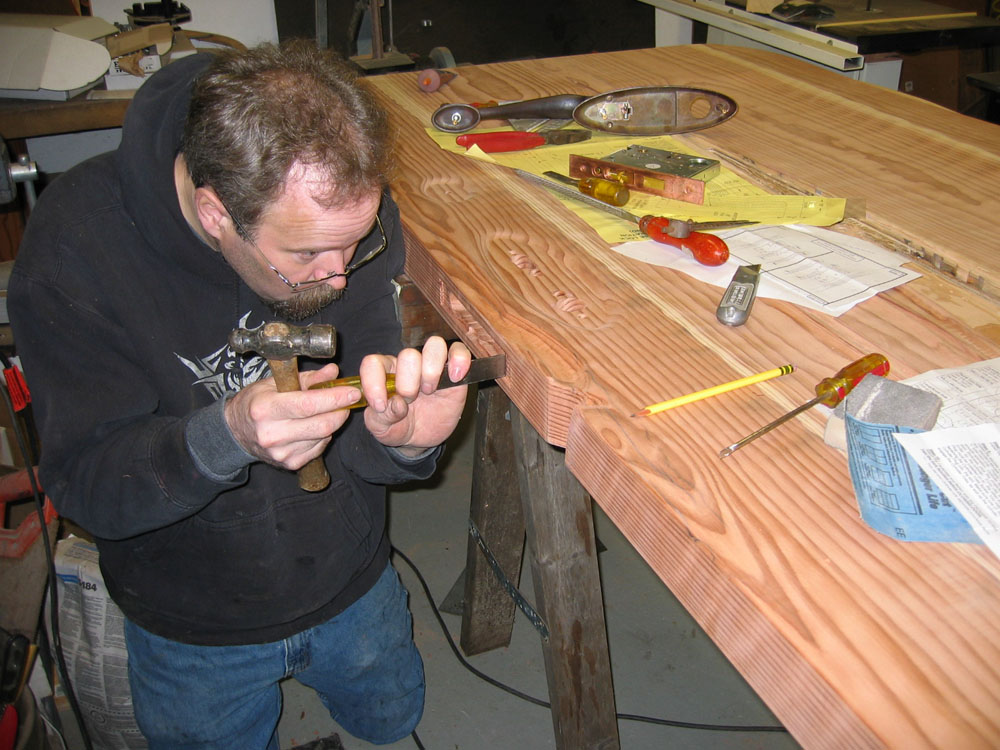
Carving away. I've got a camera that rides along so I can keep an eye on things from my office while I do paying work.
Camera's eye view from my office, 100 feet away from the noise and flying sawdust.... designing Oakley sunglass molds while my cyberslave toils away for endless hours.
|
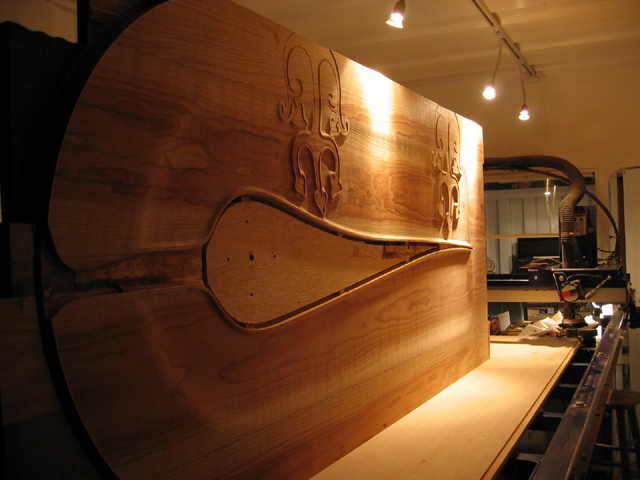
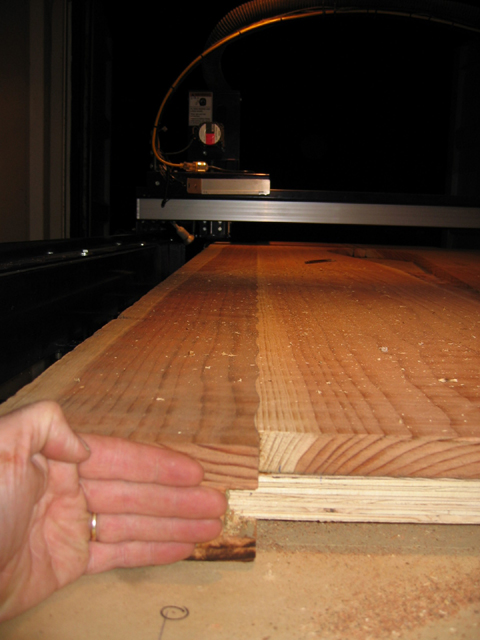
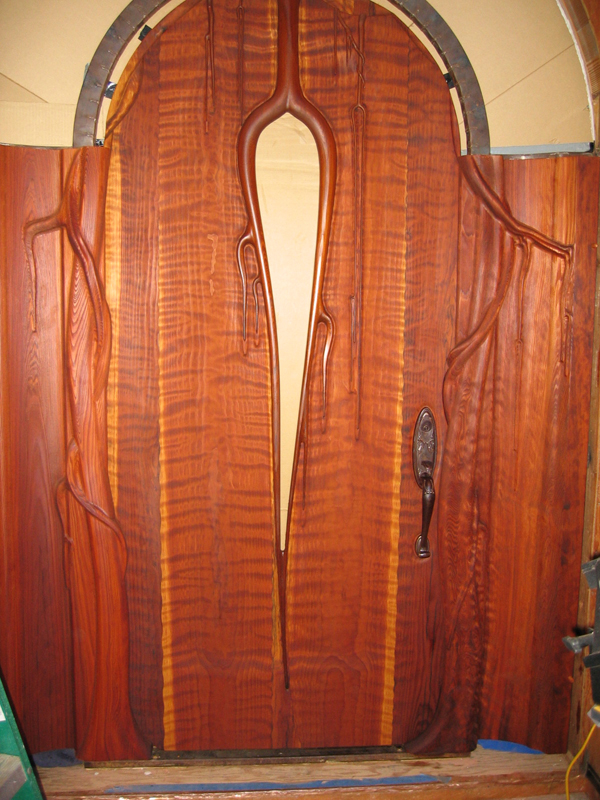
And last but not least The Door The door is sheathed in reclaimed Curly Redwood
The door is over 3 inches thick, weighing in at about 200 lbs..
|
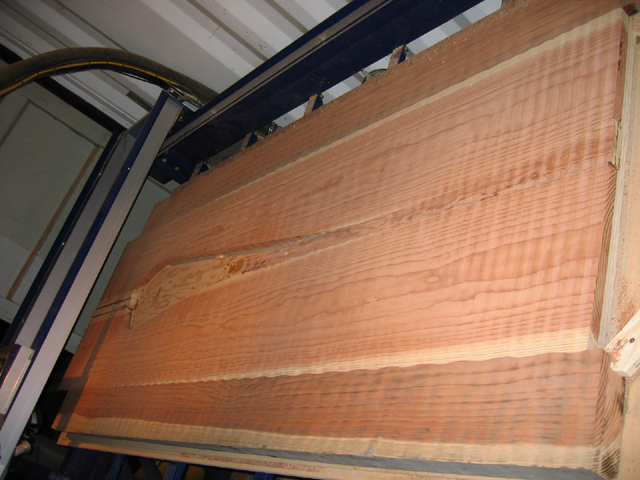
Curly wood deserves curly wood joints. When you cut with a computer you begin to realize that straight lines are an artifact of primitive technology...
|
The front is done and it's flipped over to reveal the plywood core.
|
Hinge pockets and back of door are all cut.
|
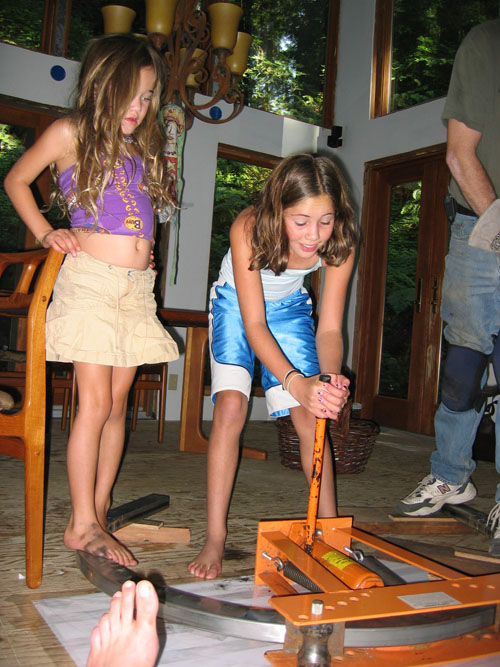
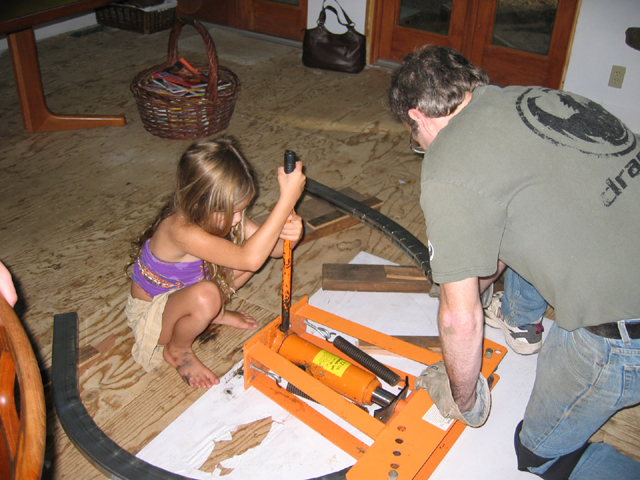
The Steel Frame Redwood is weak, unstable over time, cracks easily and expands/contracts violently with temperature and humidity. With the help of some Girl Power I got the steel bent perfectly.
I printed the computer model of the frame below, taped it to the floor and the girls bent the steel to the drawing for me.
|
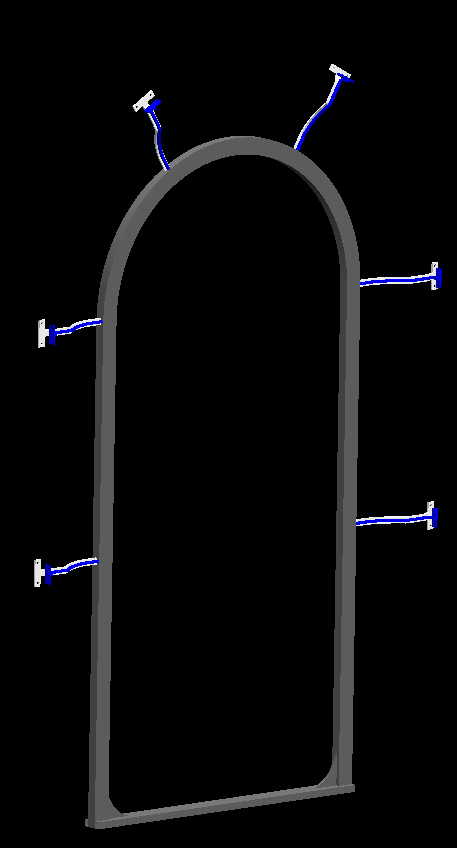
To get a tight enough bend without creases I had to slot and weld the inside of the curve.
CNC cut templates ensure that I bend the brackets as per CAD so they will fit into the already machined slots in the back sides of the jambs and arch.
|
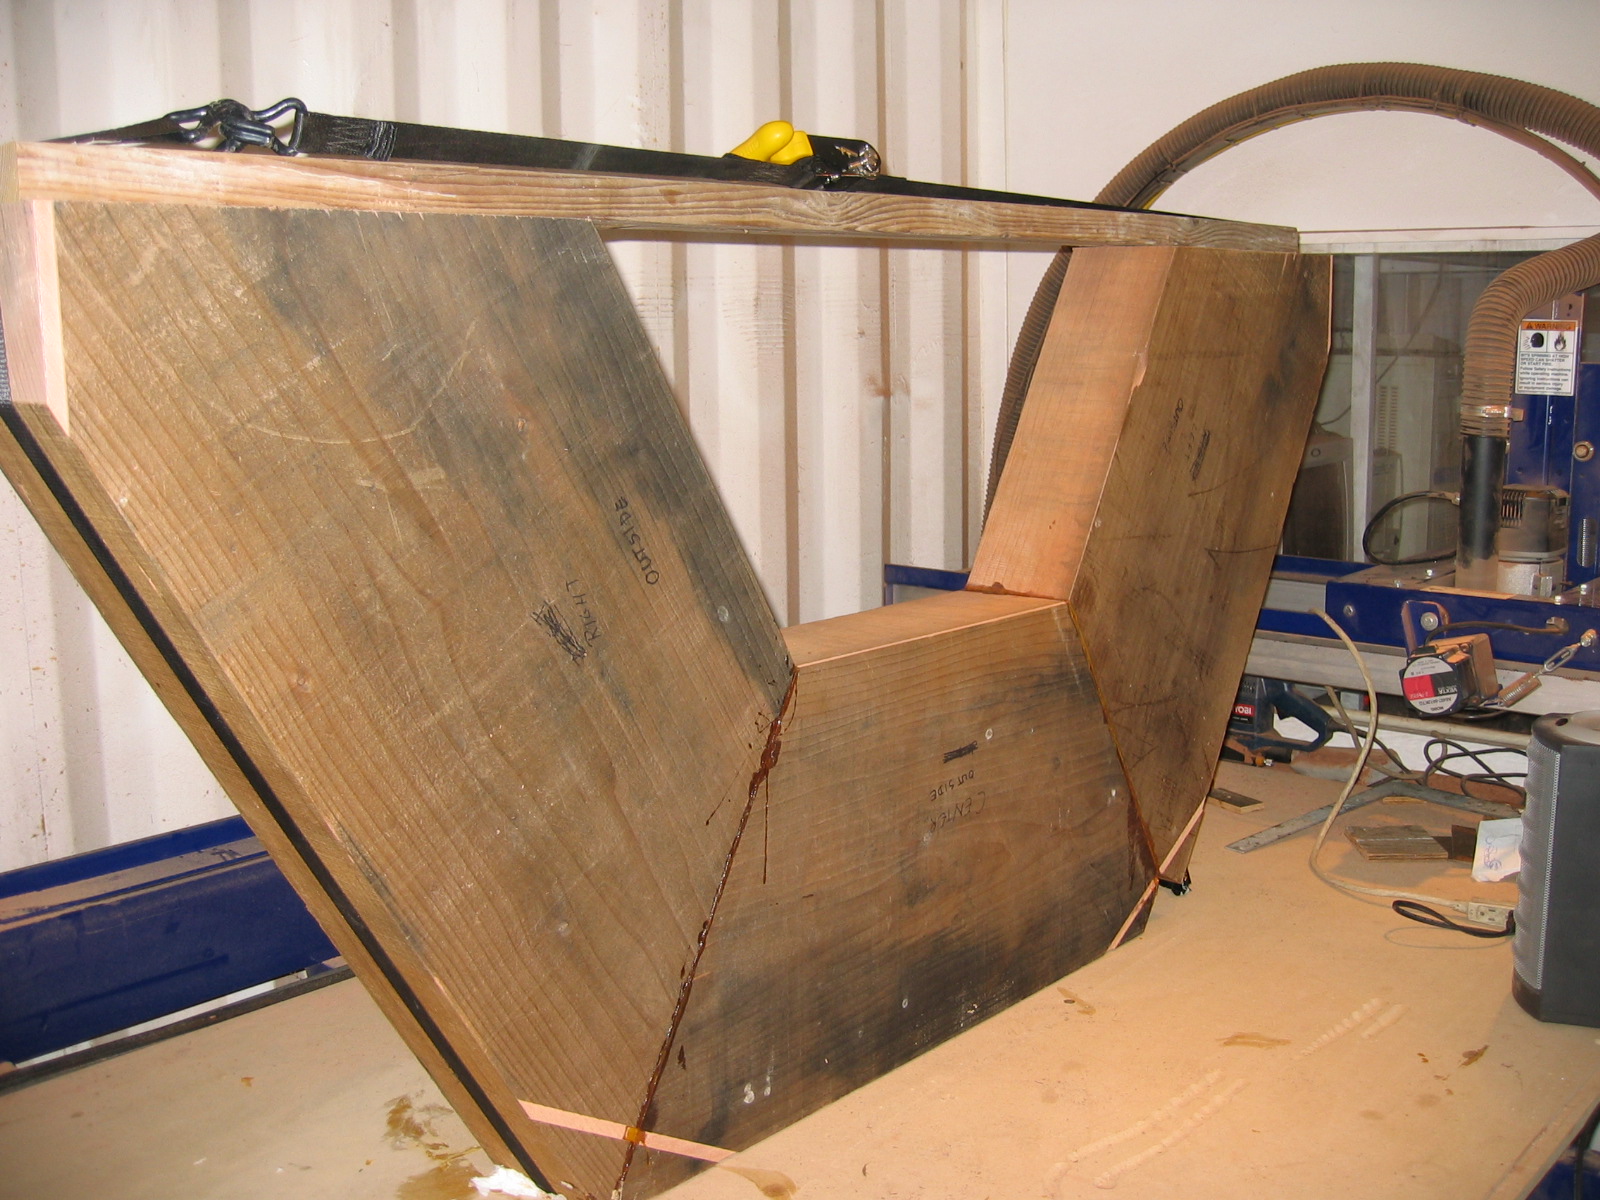
The jambs get glued onto the frame with Polyurethane adhesive The frame is bent and welded close enough to CAD to fit within the 0.100 air gap and that gets filled with semiflexible and very strong polyurethane adhesive.
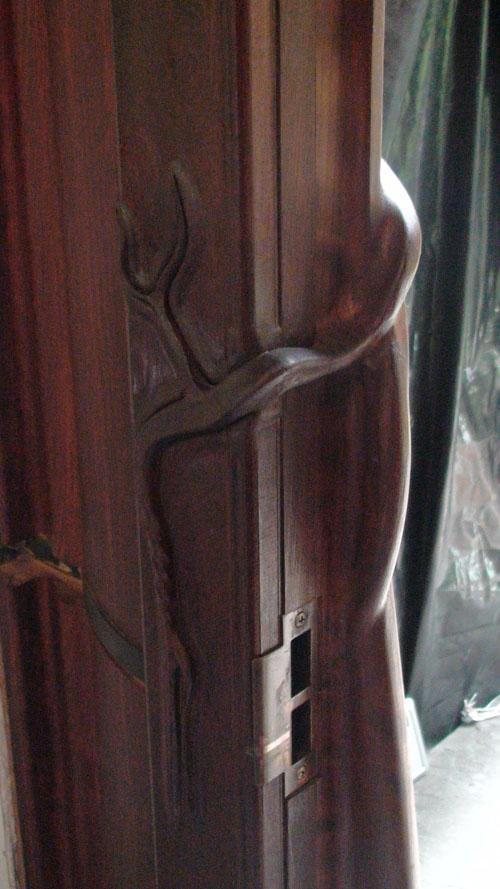
Note that the latch anchors into the steel frame, not the wood. At three inches thick the door weighs about 200 lbs.
|
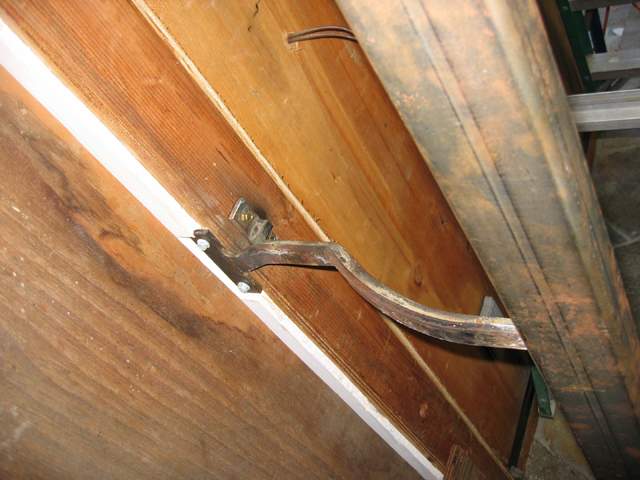
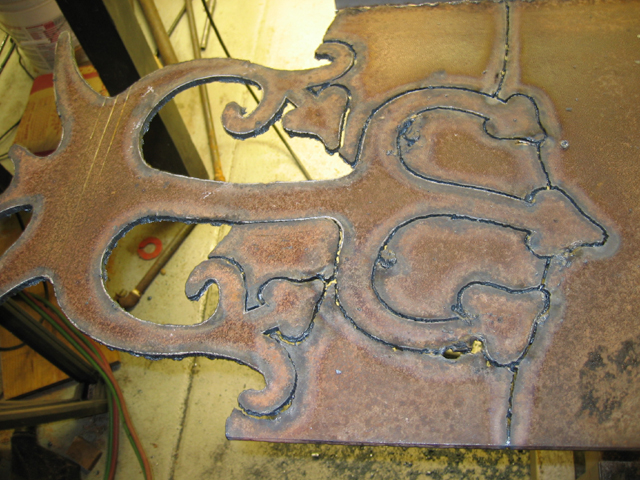
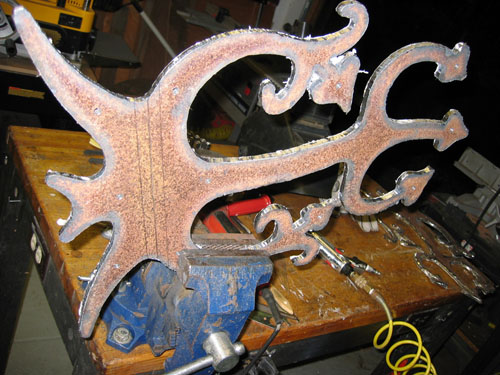
The hinges get cut and fit.
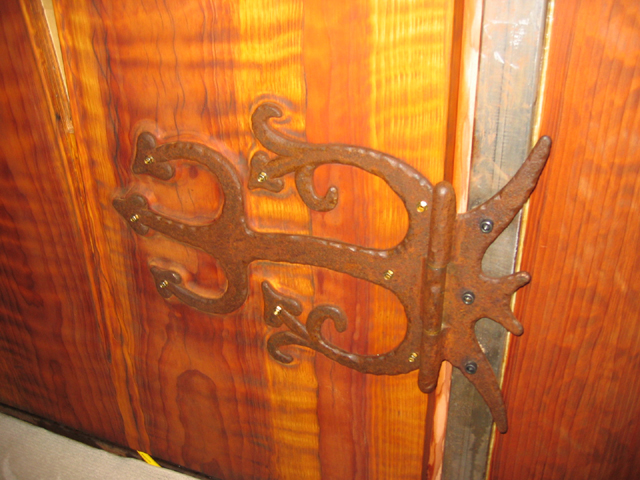
After fabricating the hinges I greased them well and gave 'em a week in a salt water bath hooked up to 12V DC current just to get some nice rust going. I then buried them in wet salty Redwood needles ( my super rust recipe ) for a month just to even out the patina.
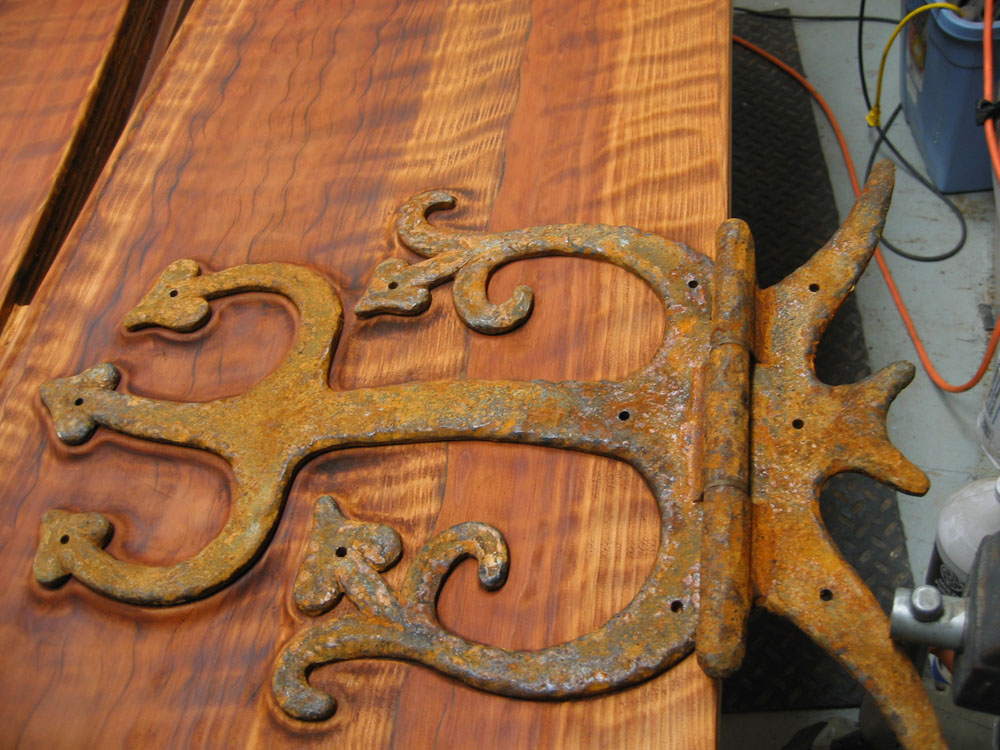
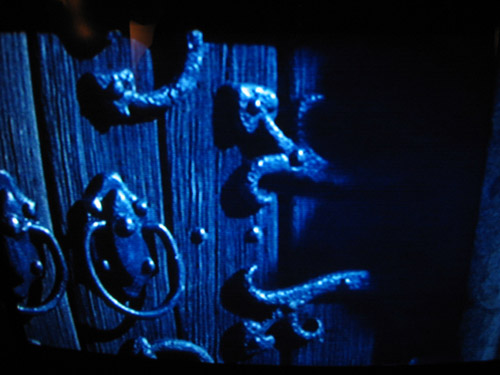
Nice and rusty, they might pass for a few hundred years old. The hinges emulate those observed on the cathedral doors visible for only a few frames in the movie
Hinge attached to steel frame.
|
Applied accent roots are cut to CAD Many of these are so thin that the Redwood would just blow away while machining. To prevent this I first CNC milled tiny slots in the backs of the thin roots. Into the slots I then epoxy nylon string or small brass wire to give it dimensional stability. Then I flip it over and machine the visible side.
All this beautiful old growth redwood was salvaged from a burn pile. 2000 year old Redwood has a different smell than new second growth Redwood. When you cut it, it smells like an old book or Library does.
|
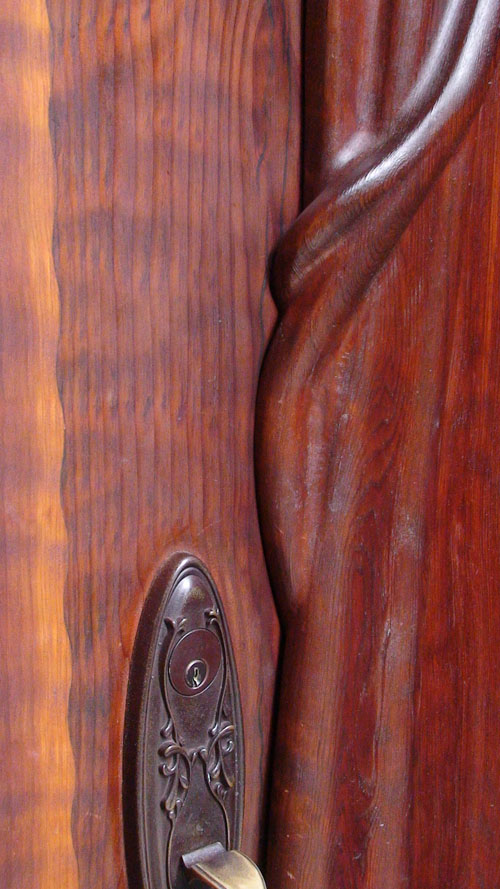
The lock is installed. It looks like it's mounted to wood but is actually drilled and tapped into 1/2" steel rods welded / epoxied into the door frame to transfer the loads resulting from a 200lb door being closed..
In high school I had a job maintaining hundreds of dormitory doors, locks, and hinges. A job with a pass to the girls dorm?....
|
Jambs and Door in Place now. We can lock our house for the first time in 5 years. How cool is that.
|
The arch goes in... and the door still closes! Click the image below to watch it shut
|
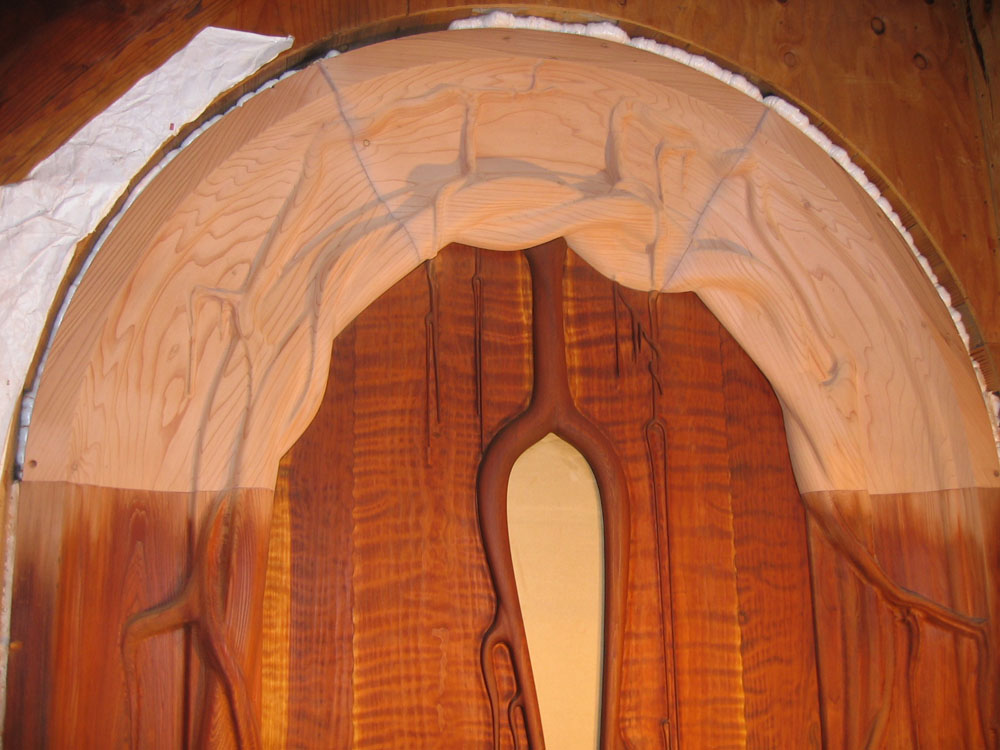
First coat of tung oil stain
|
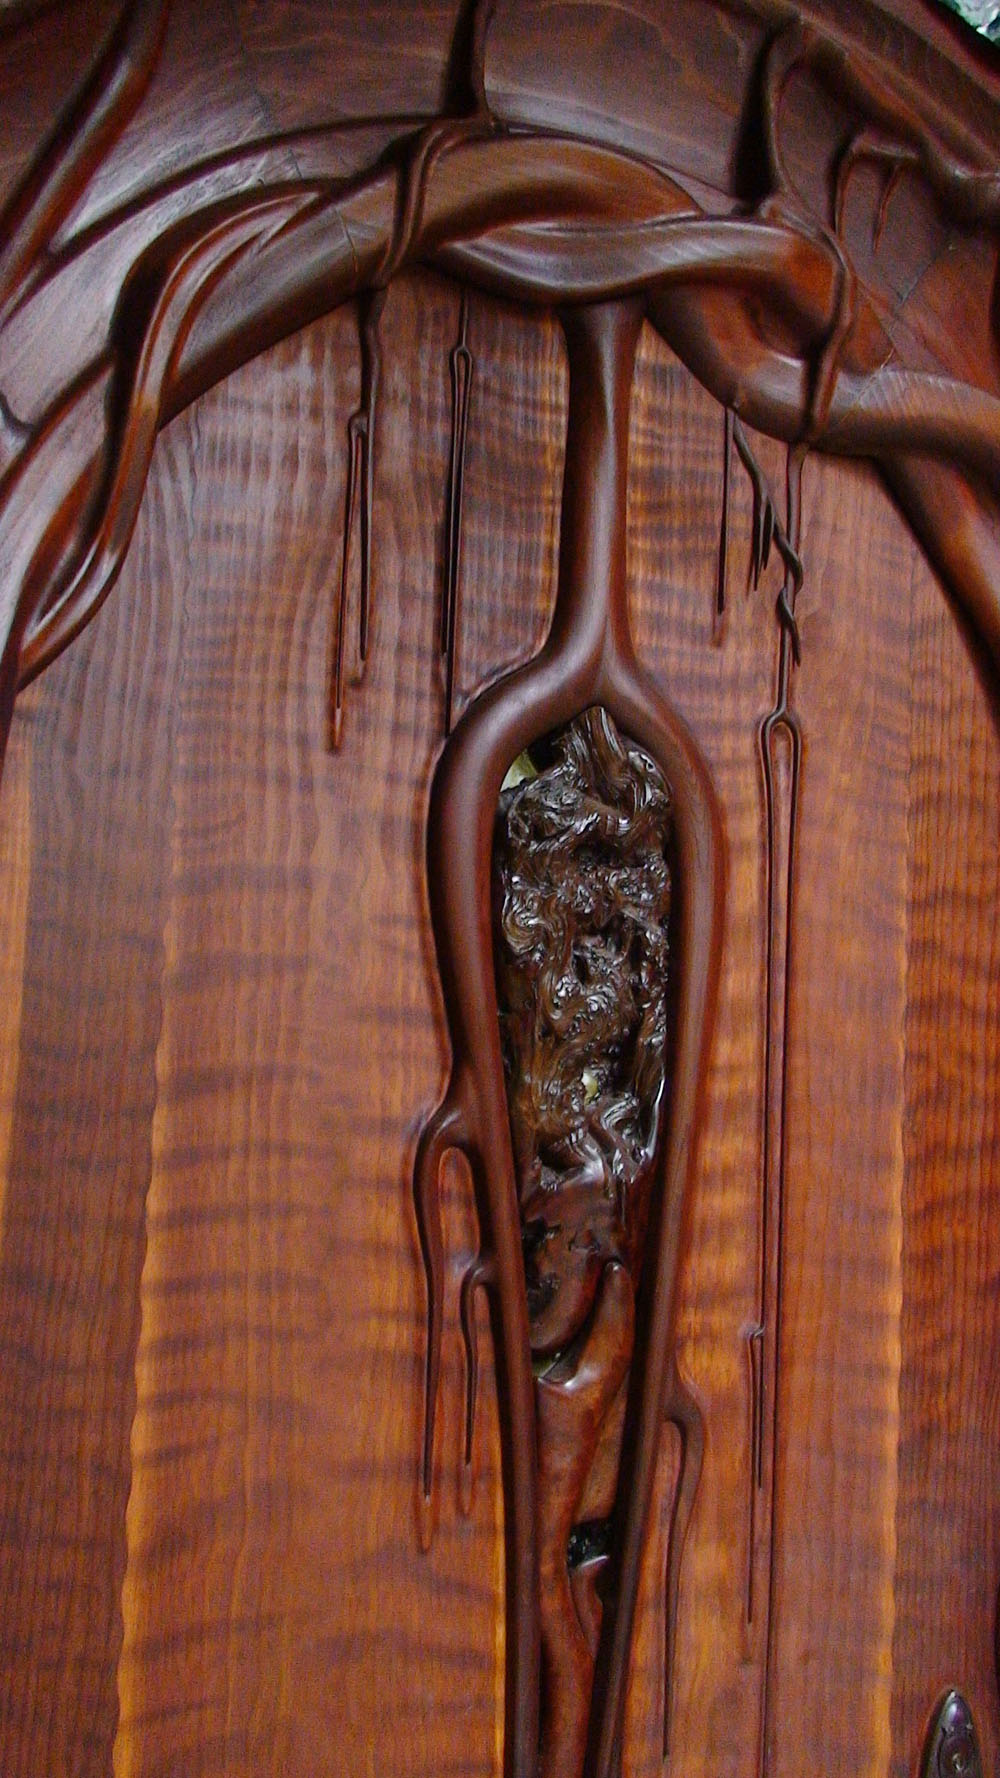
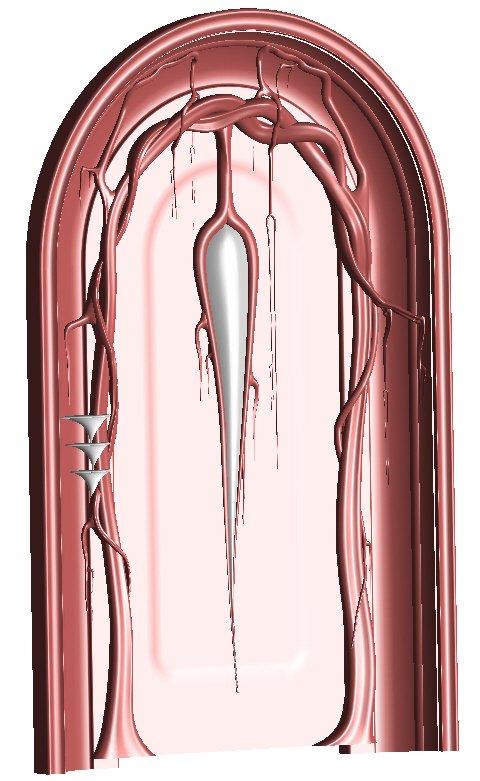
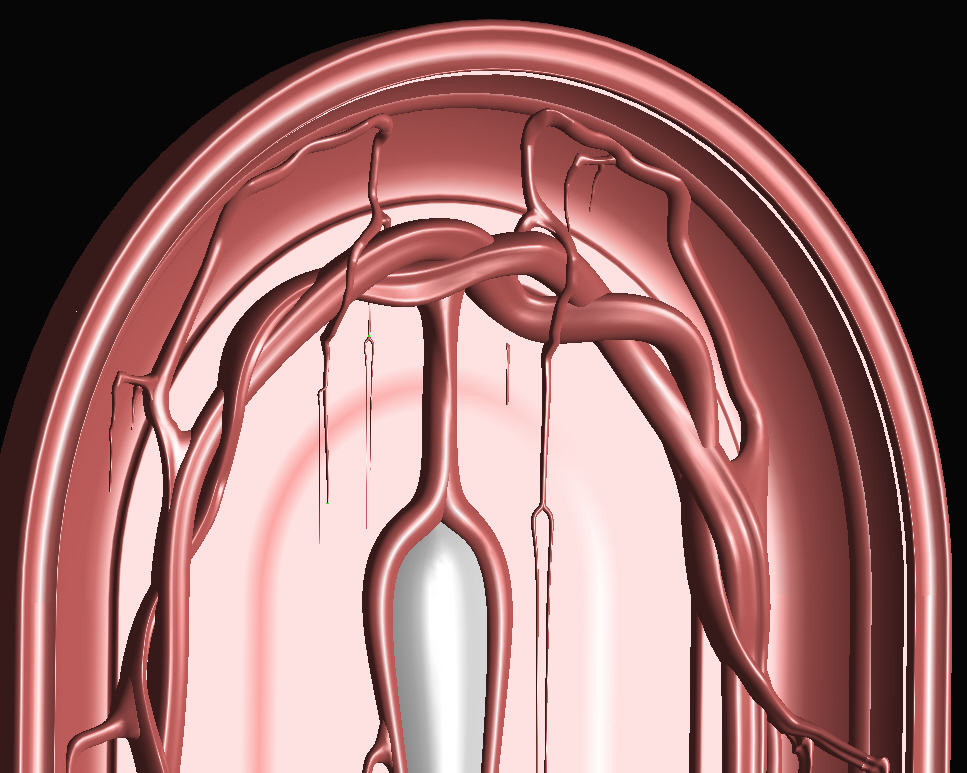
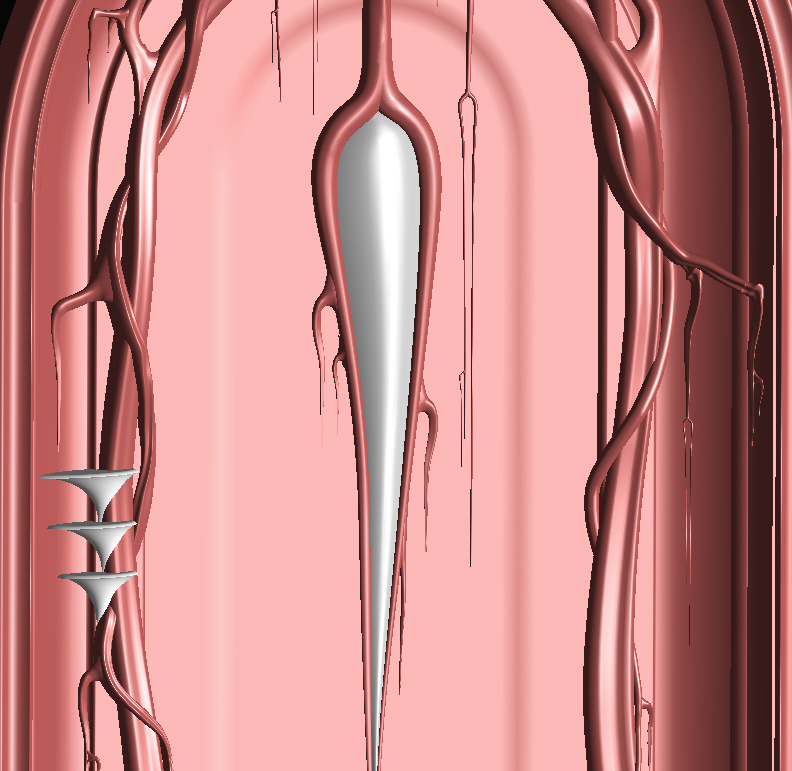
When a Redwood grows and then falls of natural causes it's roots sprout and a ring of trees is formed... like giant crabgrass. If this happens for several generations ( a generation is 2-3000 years ) the ring can become very large. The trees being 10-20 feet in diameter, I've seen rings of trees 200 feet in diameter. Most of these rings where I live were cut down about 1877, leaving a ring of massive stumps. At the center of a large ring you can frequently find a small pile of earth and roots... the remnants of the ancient mother tree. How old? Nobody knows. Probably 10's of thousands of years old. The heart of the door is the heart of one of these ancient's, pulled from a pile at the center of a 100 foot circle of massive stumps. Note the natural "aorta" near the top.
|
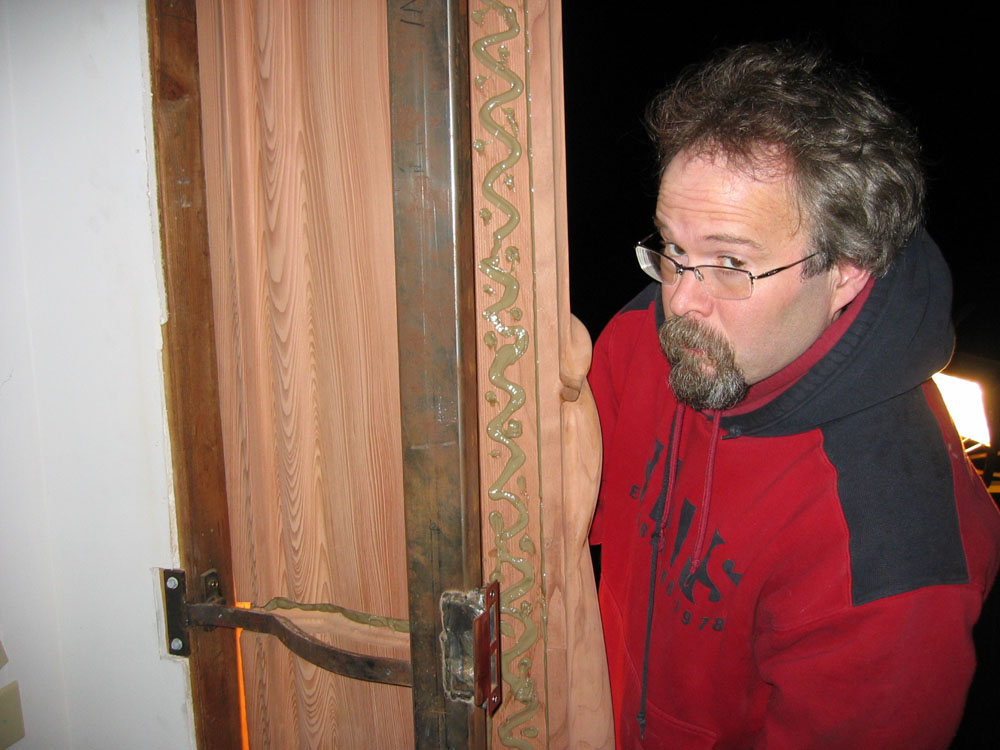
Some of the roots traverse from the exterior to the interior... but the door still shuts perfectly on and around them thanks to the computer model.
The steel frame is now hidden by interior trim... and more roots.
|
finished door pix |
finished door pix |
finished door pix |
finished door pix |

 ...... .