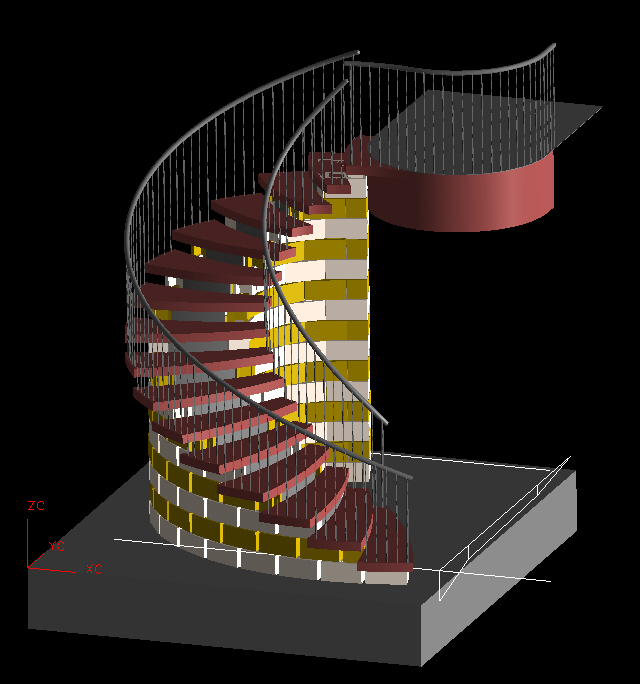
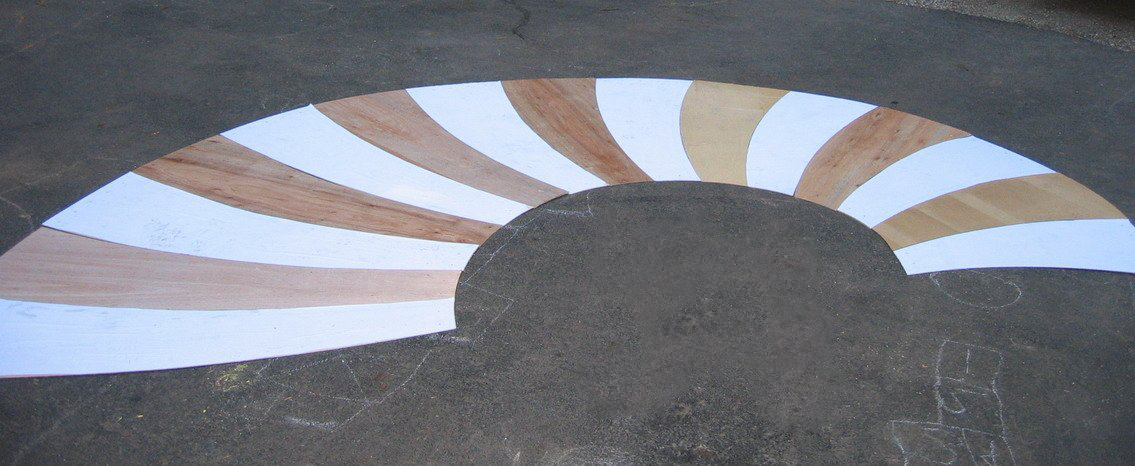
An involute conical helix based upon Fibonacci squares is at the root of it all. |
|
Here is the CAD model that underlies the whole thing. Every cinder block is designed in so that the rebar and all the below ground ends up in the correct places.
|
This image was printed on 3 foot wide strips of paper that were then glued to plywood sheets.
|
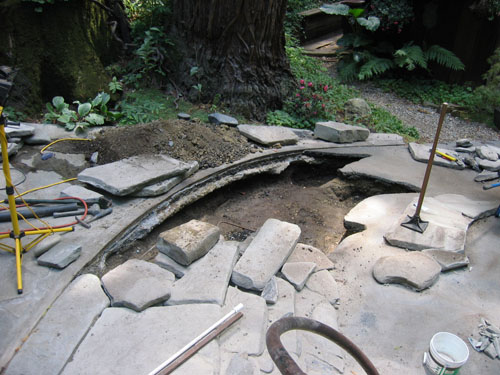
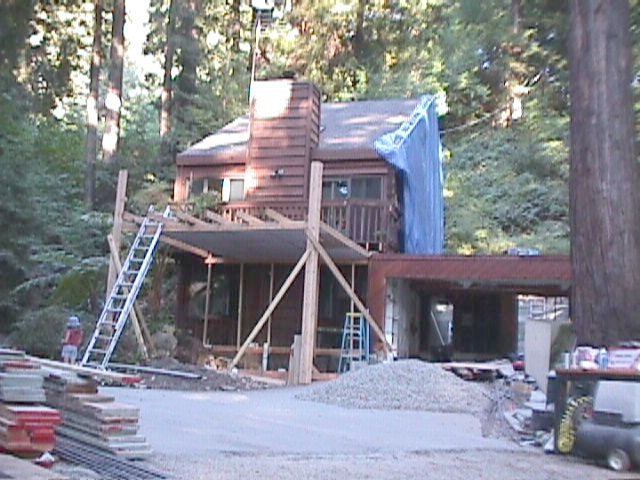
Almost every construction project starts with a giant hole in the ground.
|
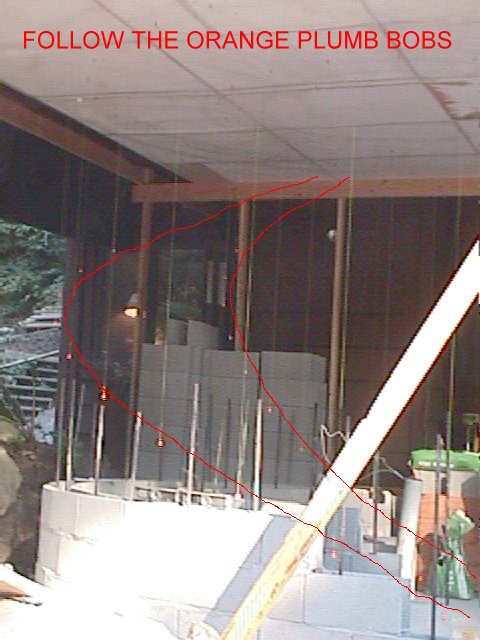
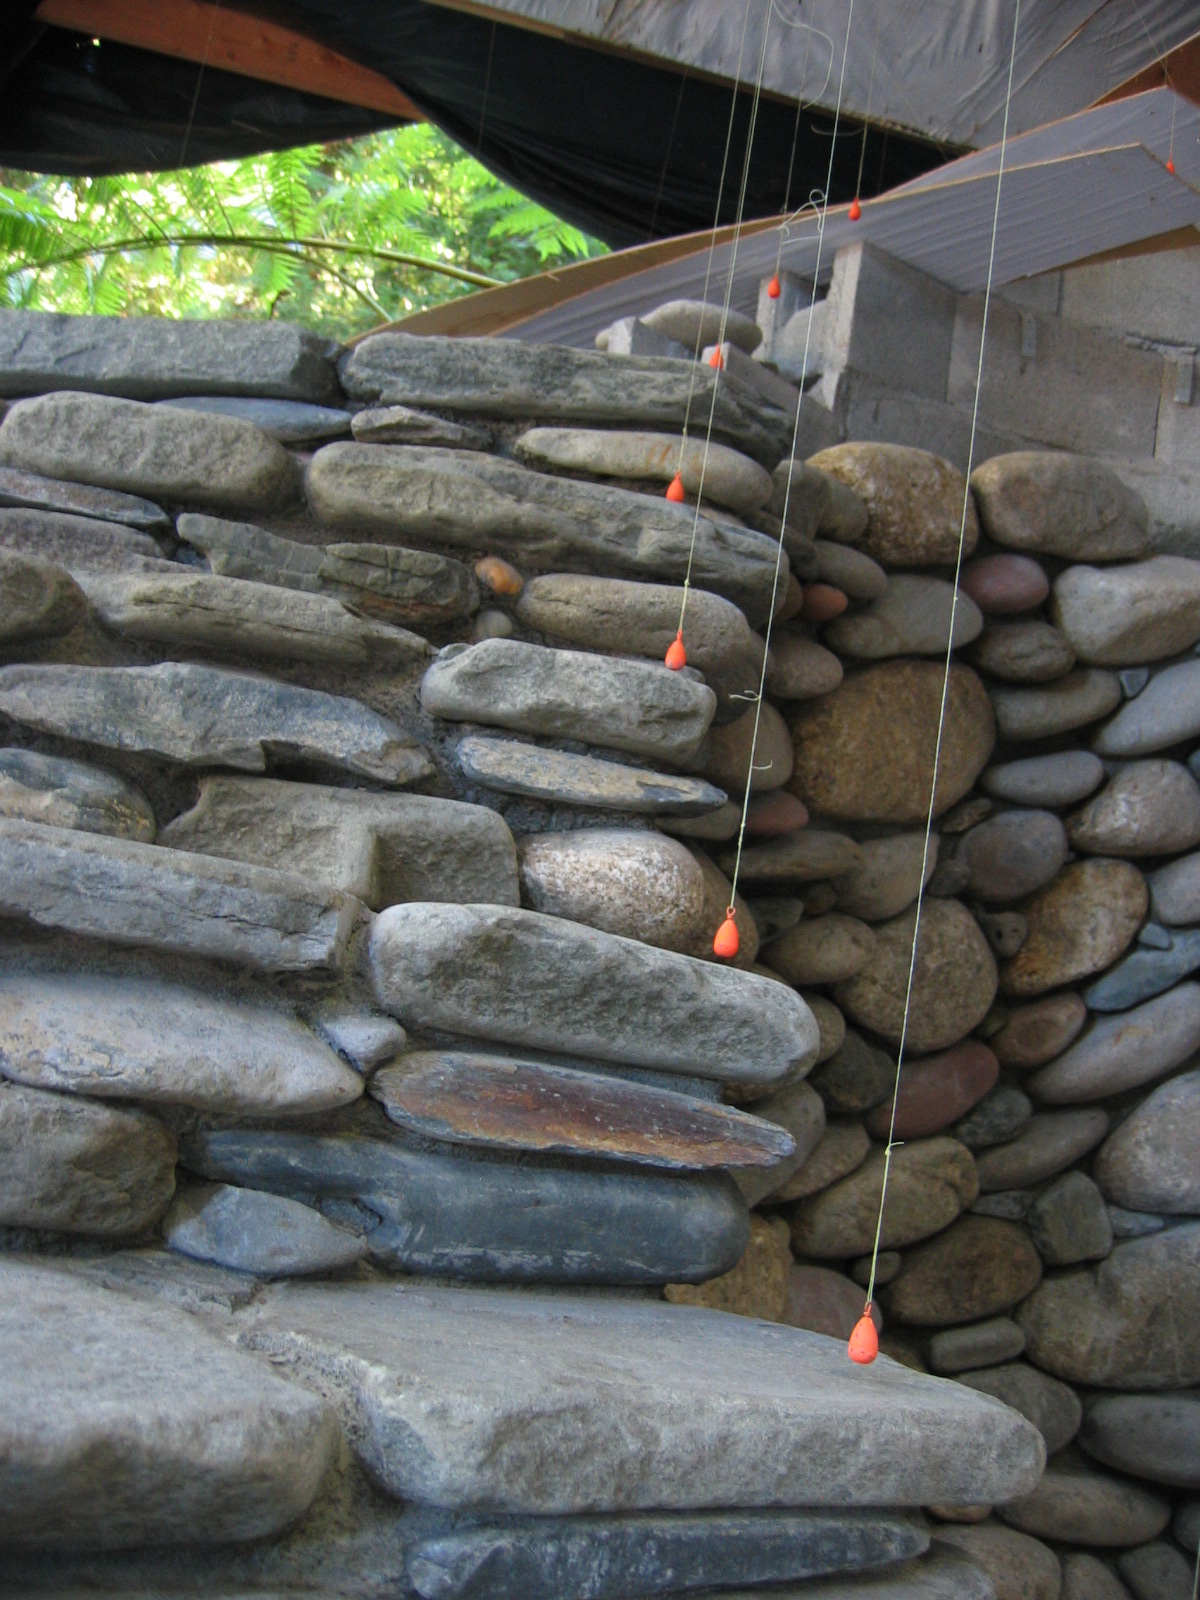
A big temporary box was built around the area
|
The CAD drawing was spray mounted to the roof of the box and 37 little plumb bobs hung at critical points from the drawing.
|
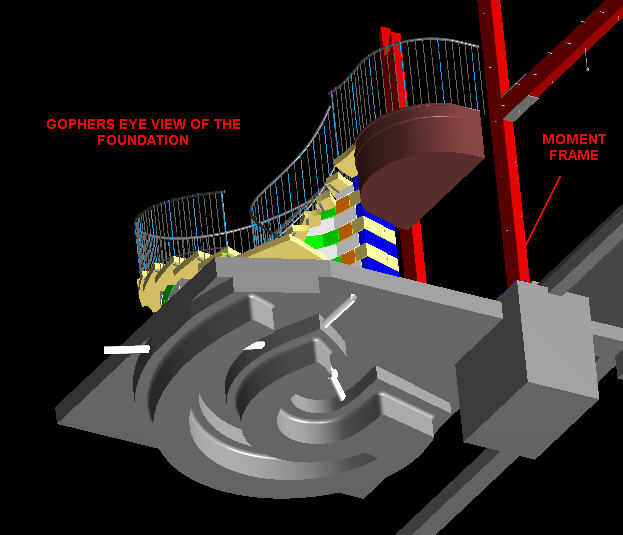
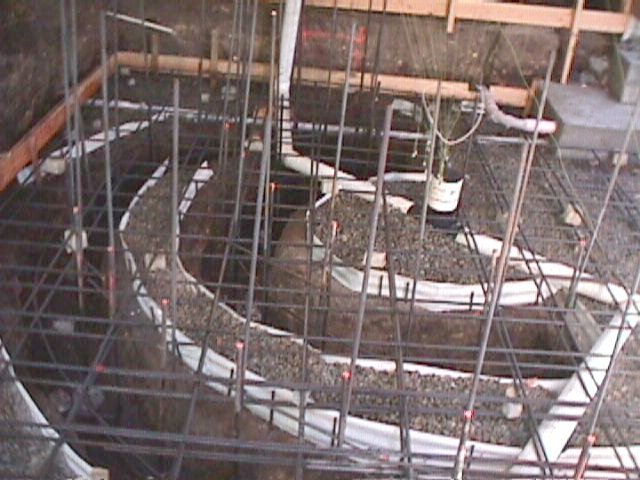
The underground view of the foundations. This is all on the print that is glued to the ceiling so we know exactly where to dig.
|
Further excavation for footings. Rebar, drainage, and electrical installed as per plan on the ceiling.
|
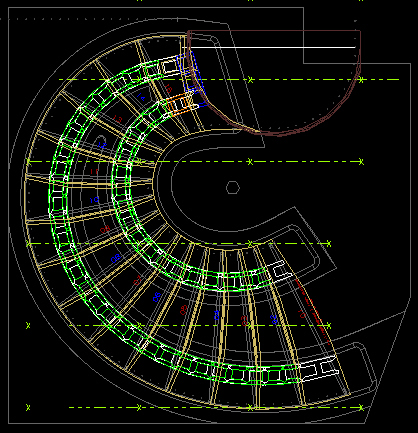
Each stair tread pattern was printed on paper, spray mounted to1/8 plywood, and cut as templates to build to.
|
The plumb bobs at this stage are positioned to locate the cinder blocks.
|
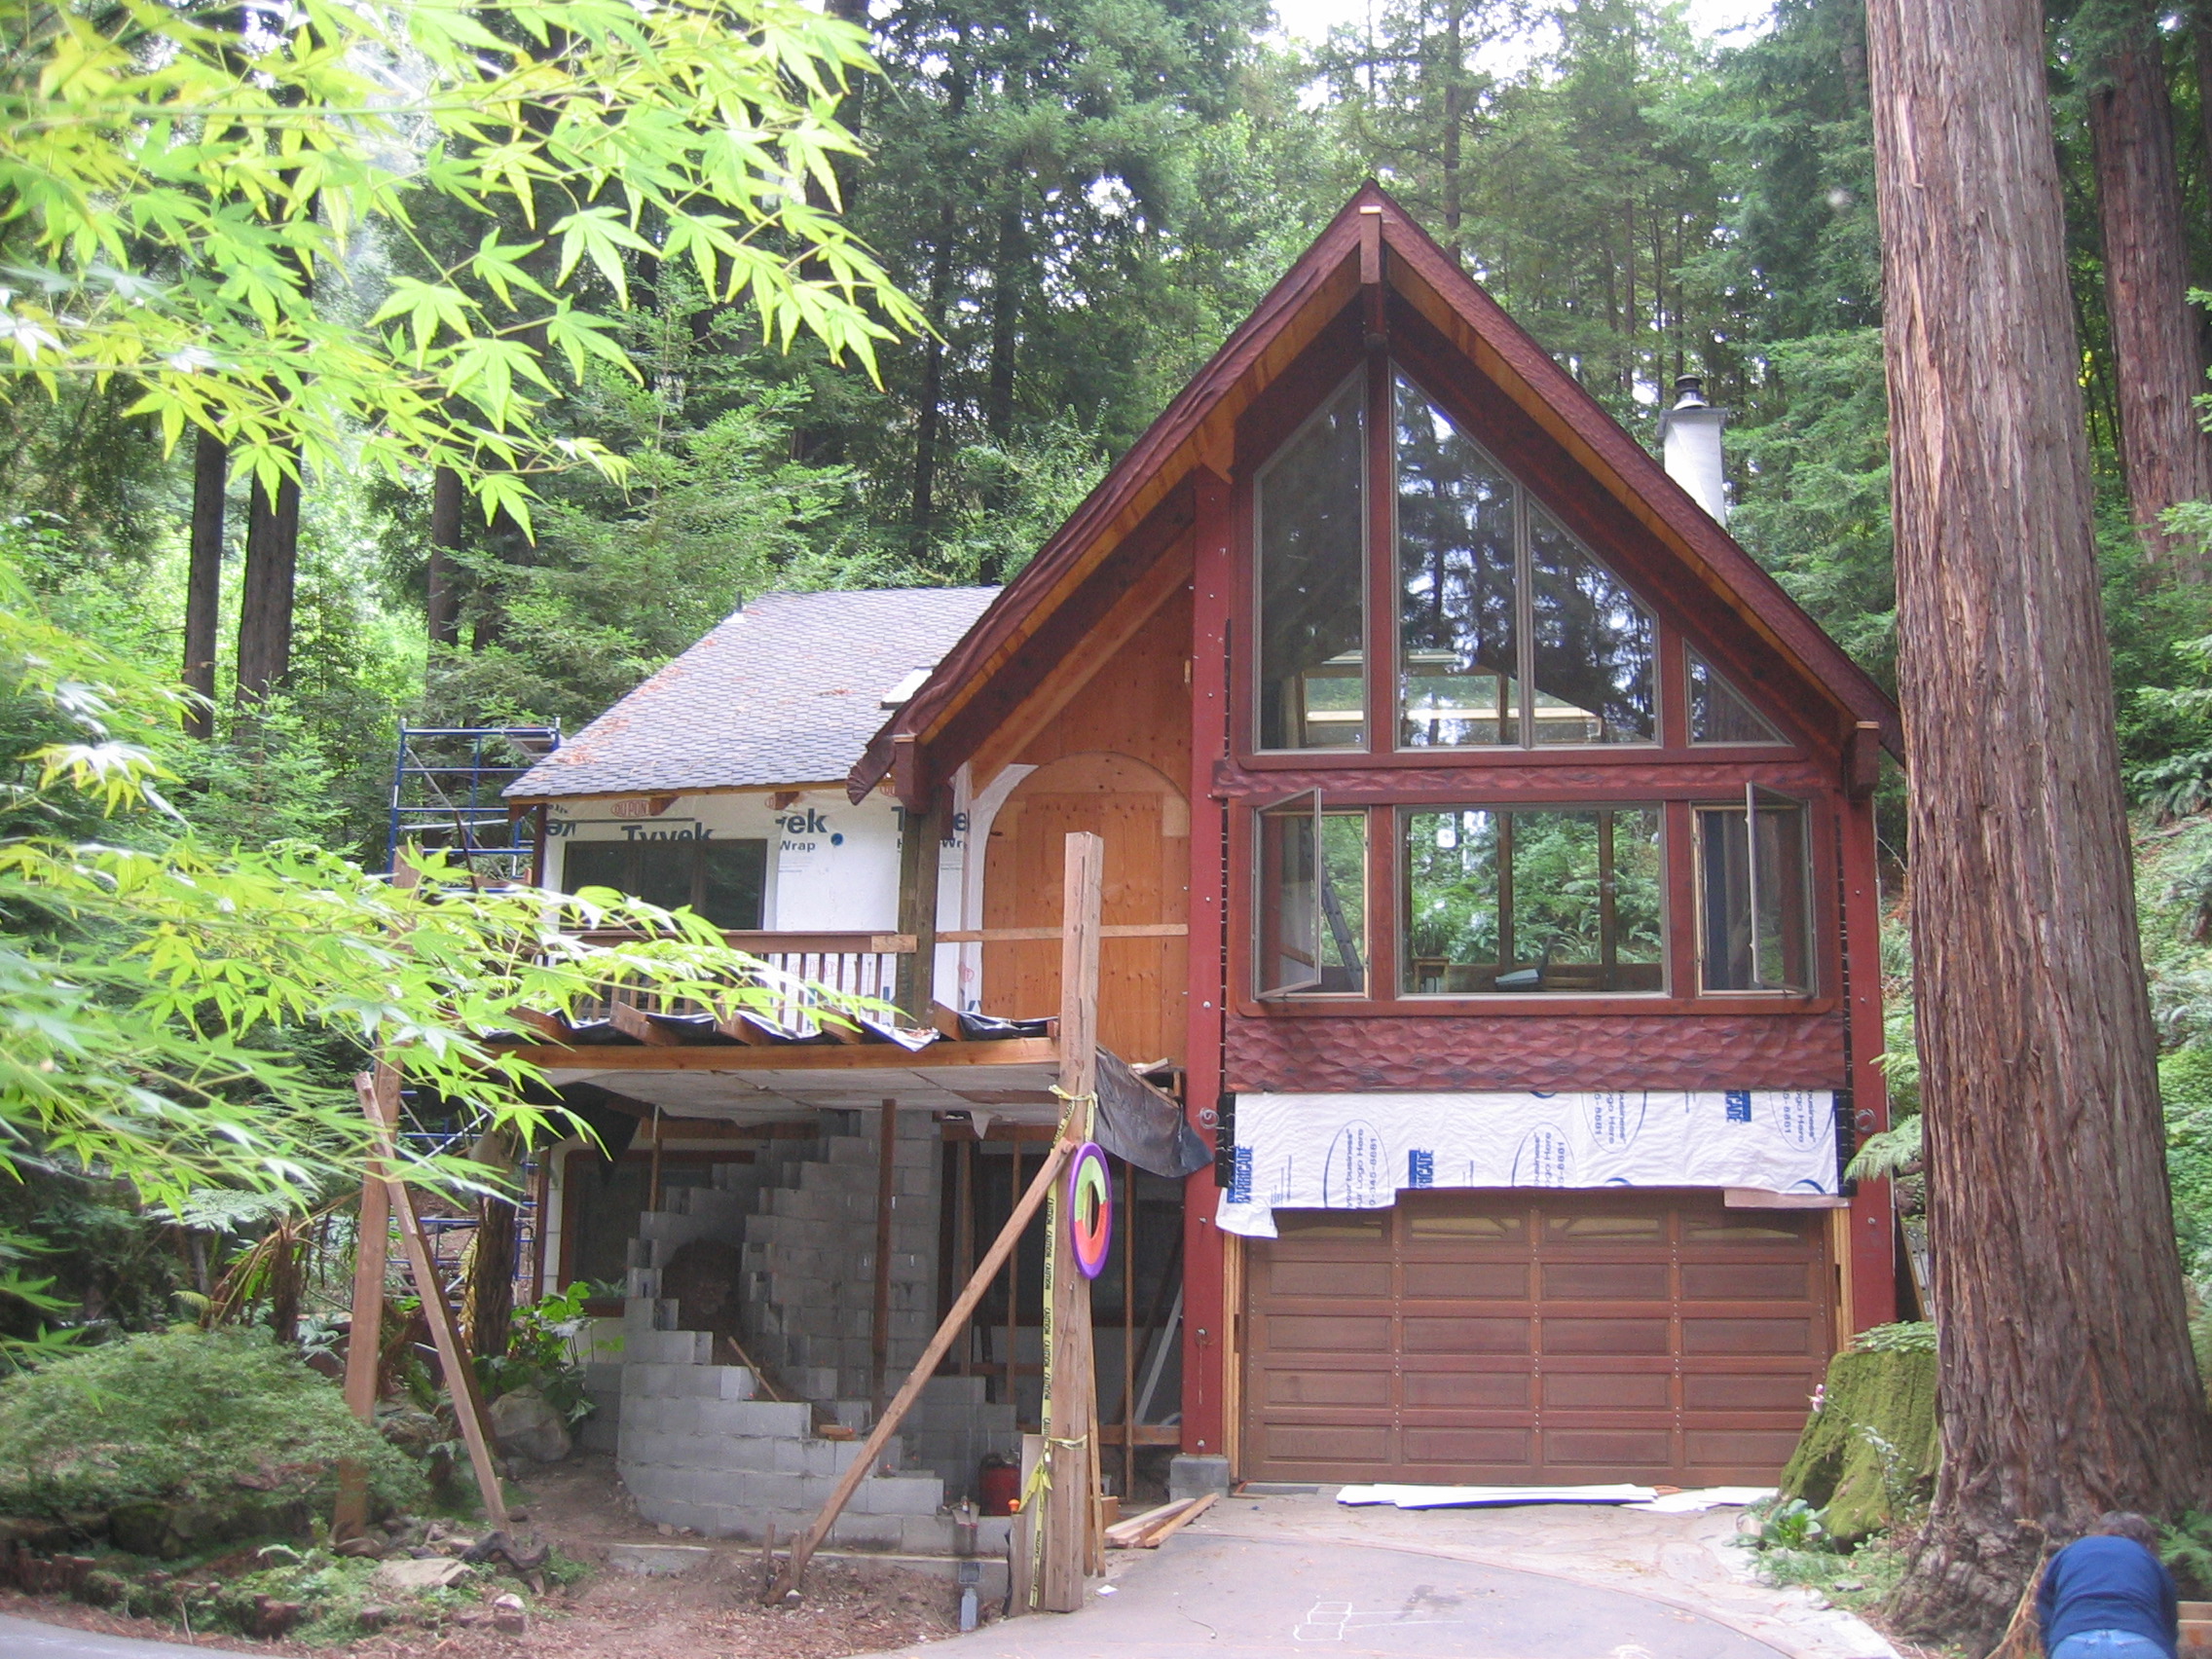
Cinder block structure complete
|
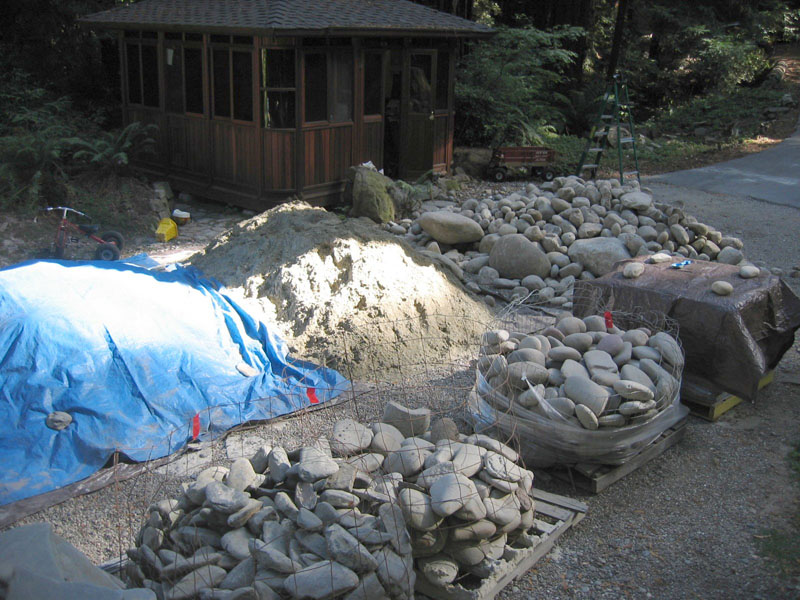
Suddenly one day, the entire yard is full of boulders.
|
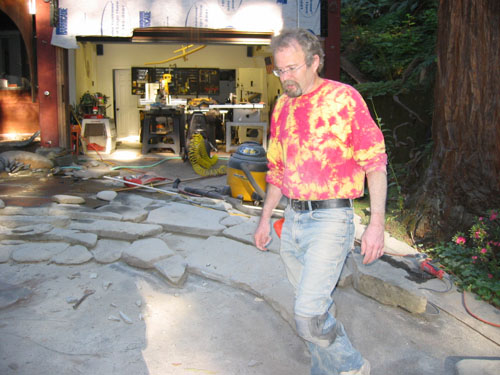
Meet Michael Eckerman Michael Rocks
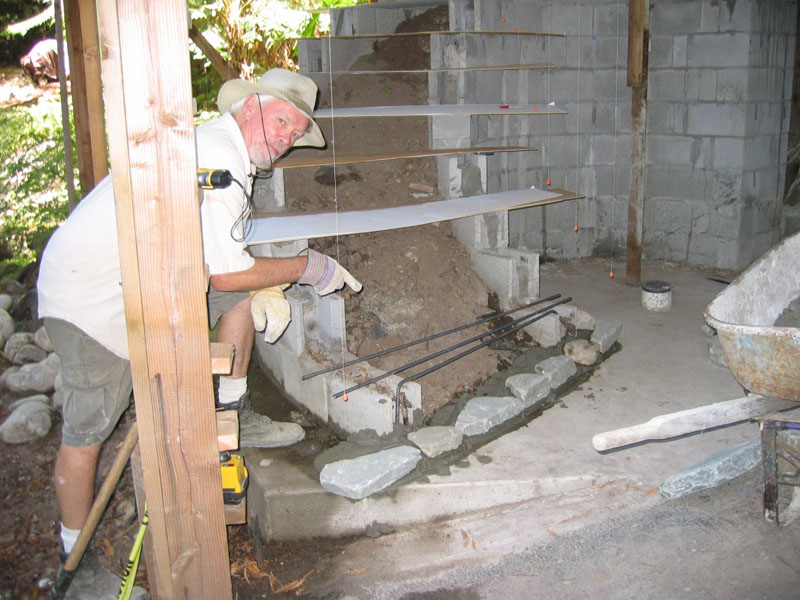
The very first rocks |
End of day one.
The patterns are in position to fit the stones to. Now the plumb bobs mark the newel post locations that were printed on the stair paterns.
|
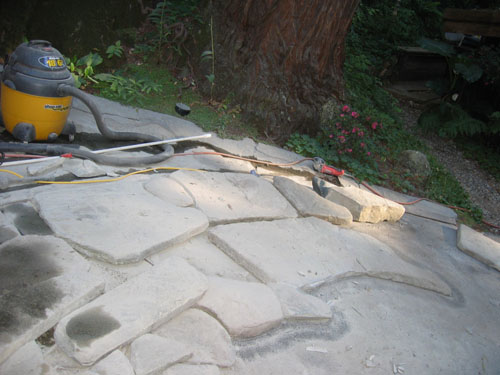
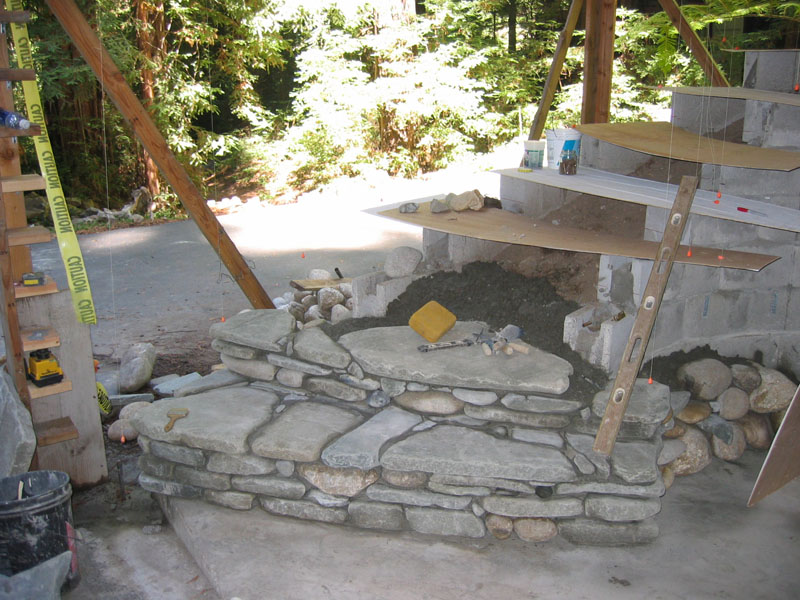
Each stair slopes 1/4" from back to front for drainage.
Note the shelves on the left where the yellow laser plane sits. When the stone is set corectly the entire surface of the stone is illuminated with bits of laser light.
|
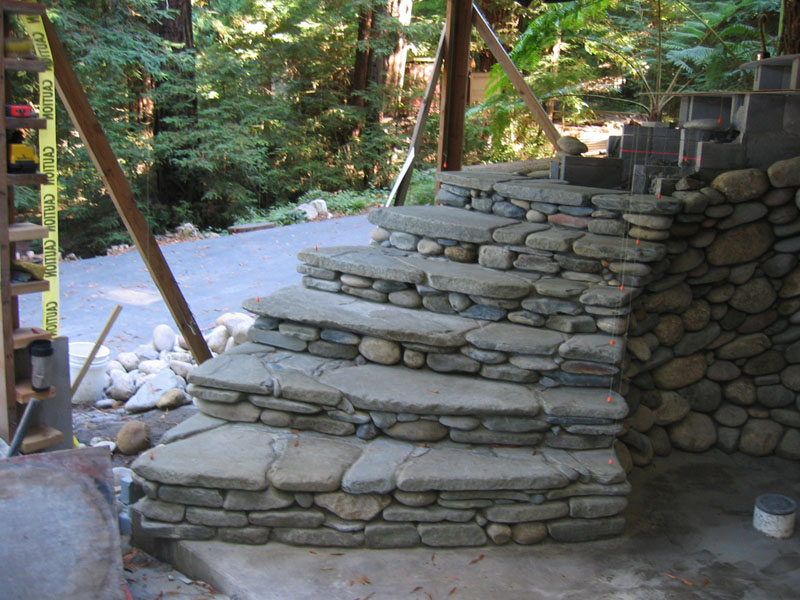
Plumb bobs precisely mark the position and height of the CAD patterns. Stairs slope 1/4" to the front for drainage.
|
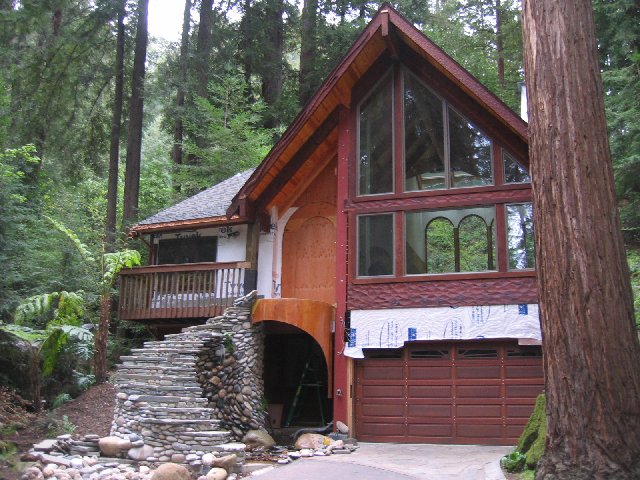
The pattern is stripped away and we are ready for a porch!
|
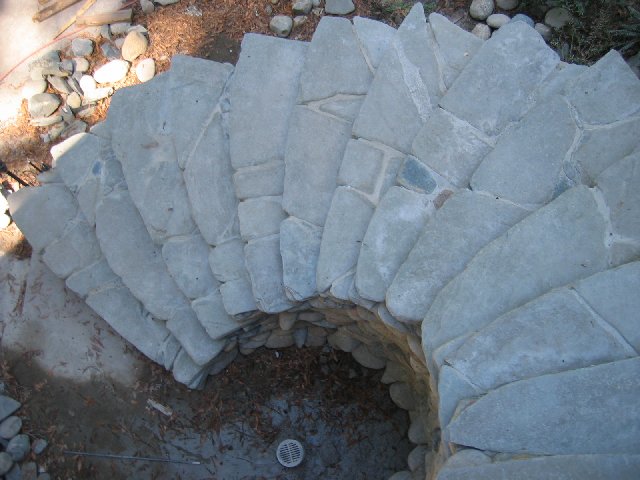
Top down view
It's just hard to find enough good things to say about the creativity, hard work and workmanship that Michael brings to the job. Link to Michael Eckermans website
|
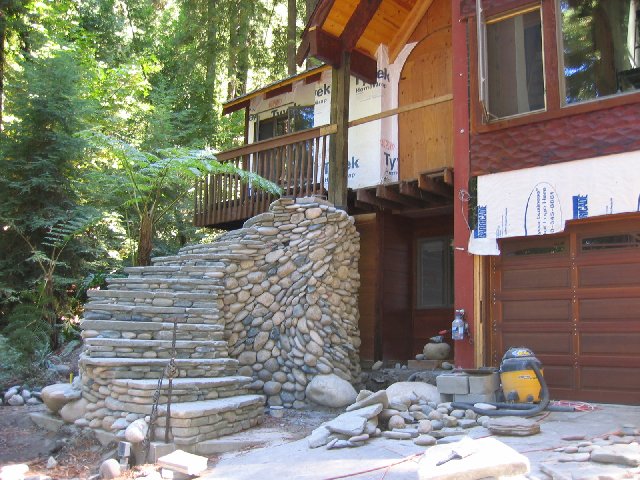
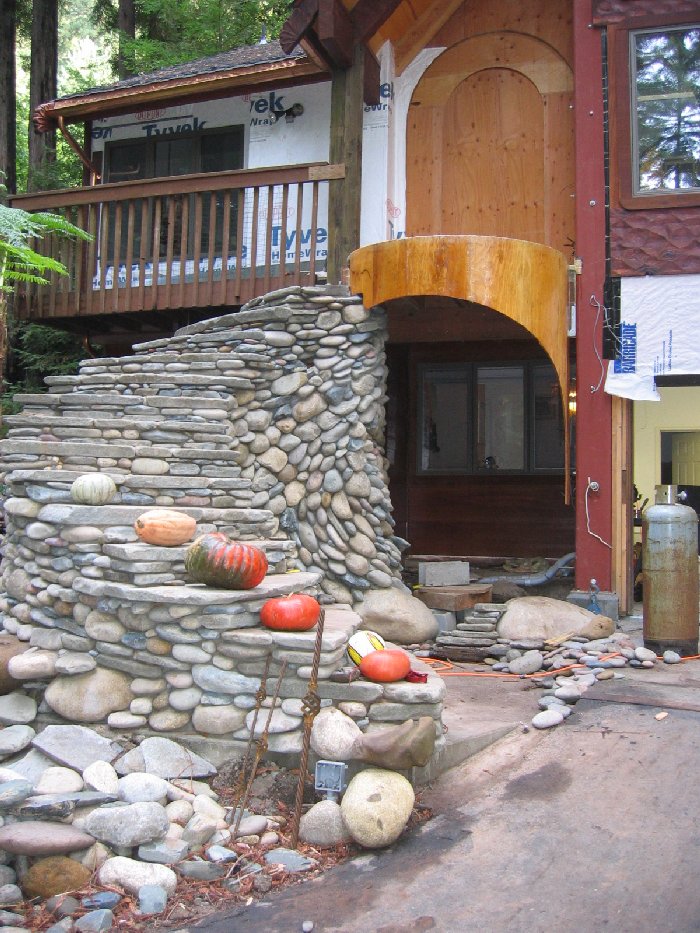
Halloween approaches. Just one stair left to add. The porch is built and fiberglassed the day before it rains.
Leaning against the second step are the wrought iron newel posts I was planning to use... because I thought doing the whole thing in roots might be too big a project. I got a thumbs down on that from both Michael Eckerman and my wife Kathy. Kathy threw one of my favorite sayings back at me...
|
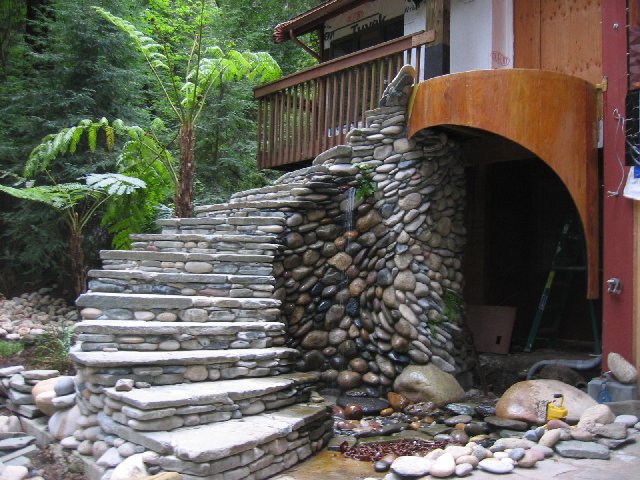
So there you go. The first freeform stone job. Nice job Michael. Michael went on to do a couple more stone creations after this. Michael taught me a ton... which I've gone on to use throughout the rest of the property.
The next phase of stone will wrap the post on the porch. Getting the bottom step to plane in with the driveway in a manner that meets code turns out to be tricky. That's a whole other project... below.
|
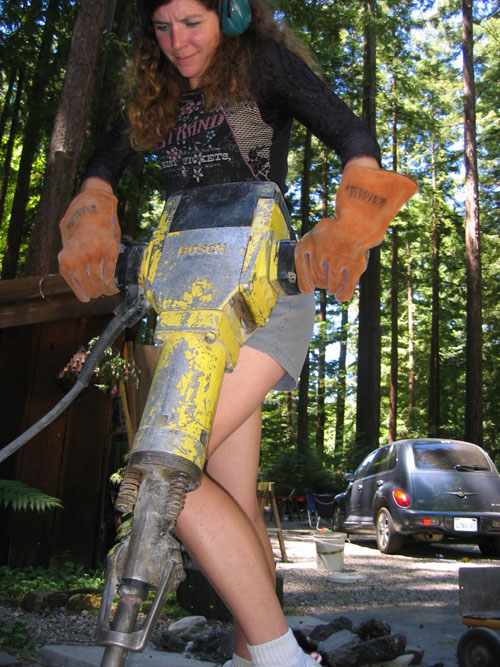
Kathy exhibits incredible skill with the 60lb jackhammer.
My girl can handle power tools like few I've met.
|
Once again, every project starts with a gaping hole in the earth. This one is no exception and goes 21 inches deep.
|
Fore mentioned rocks and concrete
|
finished pix |
finished pix |
finished pix |

.JPG)
 ...
...